FolkArt Mushroom Welcome Sign
The iconic mushroom image is back! This folk-art-inspired sign from Amy Anderson is a great way to welcome guests into your home. The distressing gives it a flashback feel while the colors are perfect for a modern palette.

Materials:
- Wooden scallop plaque by Walnut Hollow
- Mod Podge Gloss
- FolkArt Acrylic Paint – Sky Blue, Burnt Umber
- Scrapbook paper, 4 coordinating sheets – I used the Cosmo Cricket Earth Love collection
- Wood letters to spell “Welcome”
- Candle
- Scalloped scissors
Instructions:
- Prepare plaque.
- Paint the entire plaque and wood letters with Burnt Umber. Allow to dry.
- You are now going to distress the plaque. To do this, rub the candle on top the plaque in various places. Rub the candle on the edges as well.
- Paint the top of the plaque and the outside edge with Sky Blue. Paint two coats and allow to dry.
- When the paint is completely dry on the plaque, you will use the sandpaper to distress it. Lightly sand in the areas where you painted the wax, and the paint on top of the wax will rub away quickly. You’ll see the Burnt Umber start to show through through. Sand less for subtle distressing and more for obvious distressing. Be careful not to sand too much – you don’t want the unfinished wood to show through.
- Take the Cosmo Cricket paper and cut out a mushroom top shape. I did mine freehand. If you need to, sketch your mushroom top and stem on separate piece of paper first and use as a template. You should also cut the stem out at this time. I cut my stem out of three sheets of paper, and trimmed the overlapping edges using scalloped scissors.
- Mod Podge your mushroom down, starting with the stem. Mod Podge the bottom stem piece down first, then the rest of the stem, then the mushroom top. Allow to dry for 15 – 20 minutes.
- Glue down your wood letters with craft glue and allow to dry.
- Mod Podge the entire plaque and allow to dry. Give a second coat and allow to dry at least 24 hours before hanging.
Find this and 11 other great decoupage crafts in our FREE "Quick and Easy Decoupage" eBook.
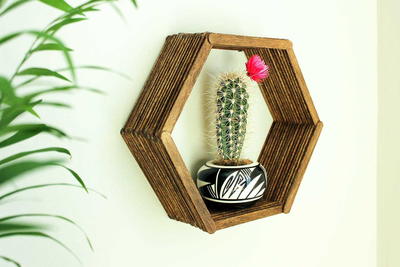
Read NextPopsicle Stick Hexagon Shelf