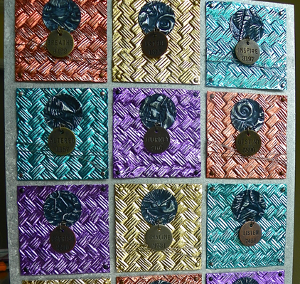
Embossed Foil Wall Art
There's no need to invest in expensive works when you can create your own simple wall art crafts. Embossed Foil Wall Art is a colorful project that you'll love to show off. The rough texture gives the piece a one-of-a-kind, old-world look and feel.

Materials:
- Spellbinders Grand Calibur machine with Grand Raspberry plate
- Spellbinders Premium Craft Foils
- Spellbinders 3D M-Bossabilities embossing folders
- 11″ X 14″ wood art panel
- White gesso paint
- Metallic silver acrylic paint
- Iridescent acrylic medium
- Paint brush, sea sponge
- Sanding block
- Metal wire (thin gauge)
- 1-1/2″ circle punch
- Mini brads, 1/16″ hole punch
- Dimensional glue dots, contact adhesive
- Mini screw eyes, large jump rings
- Round metal-stamped tags
- Jewelry pliers
- Small nail and hammer
Instructions:
-
Paint wood panel (top and sides) with one coat of white gesso; let dry.
-
Paint over the gesso with one coat of silver blended with iridescent medium (approx. 3 parts medium to 1 part paint); let dry.
-
Dab more silver paint over wood panel with sea sponge to create texture; let dry.
-
Trim and emboss twelve 3-1/4″ squares of foil in desired colors with Basket Weave embossing folder. Lightly sand the top of each square to highlight the texture.
-
Punch holes in each corner of all 12 squares and insert brads, then distress the squares lightly with a sanding block.
-
Gently wrap some of the squares with metal wire (a 25″ length will go around one square 4 times).
-
Arrange the squares evenly on the wood panel and adhere in place with 5 glue dots (one in each corner plus one in the center).
-
Emboss a darker contrasting foil using the Shell Beauty embossing folder, then punch out 12 circles from the detailed areas. Sand the circles lightly to highlight the texture.
-
Glue one circle to each square on the panel with contact adhesive, let dry.
-
Use a hammer and small nail to make starter holes in the wood panel at the bottom of each circle, then twist in a screw eye.
- Use jewelry pliers to attach a metal stamped tag to each screw eye with a jump ring.
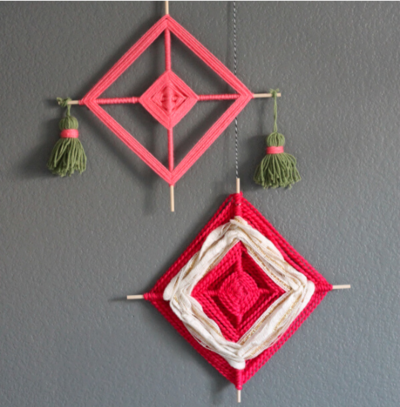
Read NextColorful Cross Wall