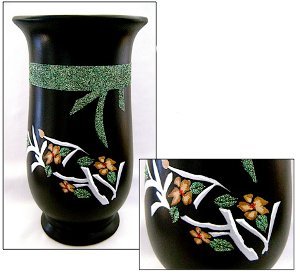
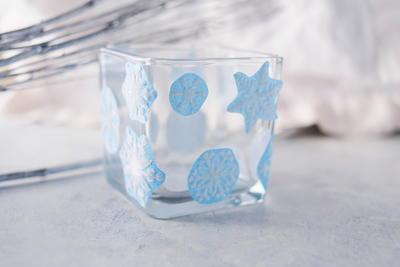
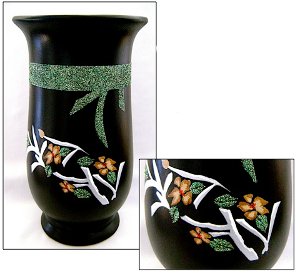
Oriental Glitter Vase
Add a touch of the orient to your home decor scheme with this Oriental Glitter Vase from Gloria Uhler. Made using a simple stencil, this elegant DIY home accessory is easy to make and fun to show off. Fill it with flowers or let it be as is for a stylish accessory that will brighten up your home.
Materials:
- Aztek airbrush
- Paint in the following colors: Mocha, Opaque White, Pearl White, Red
- Acrylic Cleaner
- Craft knife or scissors
- Paintbrushes
- 1/8” masking tape
- Dullcote Lacquer
- Ashland Black Vase
- Beacon Coat & Create
- Gick Crafts Golden Green Glitter
- Cardstock
- Label sheet
- Downloadable pattern, or stencil of your choice
Instructions:
-
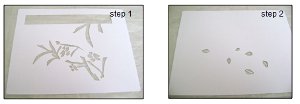
Download and print out the flower and stem stencil on a label sheet. Cut out the stencil with a craft knife.
-
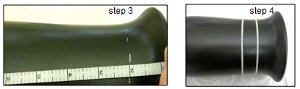
Measure down 2 inches from the top lip of the vase using chalk to mark the surface. Following chalk lines, set down a line of 1/8” masking tape around the container.
-
Set down another strip of tape one inch below the first.
-
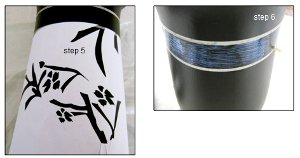
Peel the backing off the stencil sheet. Align the top straight edge line with the bottom line of masking tape.
-
Fill a container with Coat and Create. With a one-inch sponge brush, fill the space between the two tapes with the product, working around the entire vase. Also fill the top three stems that overlap the tape.
-
Remove the two rows of masking tape. There will be a gap in the glue on the stems. Fill that in.
-
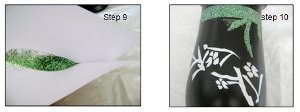
Sprinkle glitter on the coated areas. Place paper under your work to catch and save the glitter that falls. Shake off excess glitter.
-
To return glitter to the container, create a crease on one end of the paper, forming a funnel. Hold it over the container and the glitter will slide down the crease. Coat and Create takes 24 hours to set. Avoid touching the glitter areas as you continue working.
-
Fill the airbrush with the White Pearl paint and spray the stencil. When dry, remove the stencil from the vase.
-
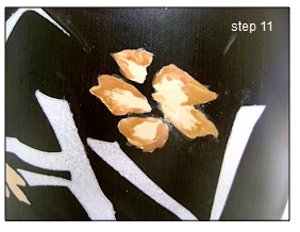
Mix Mocha paint and White opaque paint to create the color for the petals on the flowers. Use brushes to paint them. After they are dry, use a brush and Mocha paint alone, to darken the edges of the petals. If you’re messy like I am, don’t worry. Paint outside of the petal edges can be cleaned up with Q-tips and Acrylic Cleaner.
-
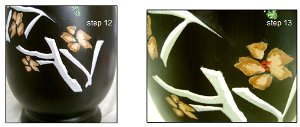
Use a brush and White opaque paint to add dimension on the branches by applying it to one edge of each branch.
-
Add dots of Red paint to the center of each flower.
-
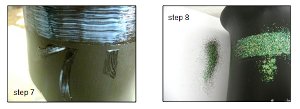
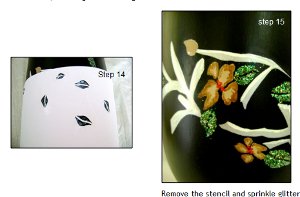
Trim the leaf stencil and remove the backing on the side edges. This will help to hold the stencil against the vase. Don’t allow the sticky back to come in contact with paint as it could lift paint when removed. Apply Coat & Create to the leaf openings.
-
Remove the stencil and sprinkle glitter on the coated areas. Shake off excess. Drag a toothpick through the center of the leaves to better define them. Wait 24 hours for the coating to set, then clean the entire surface with a large, dry, soft brush to remove excess glitter. Apply DullCote Lacquer if desired to protect the paint finish.
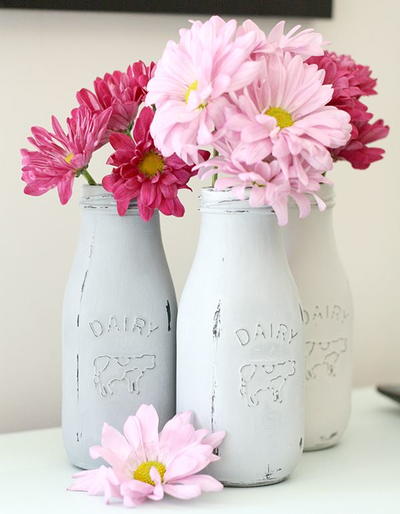
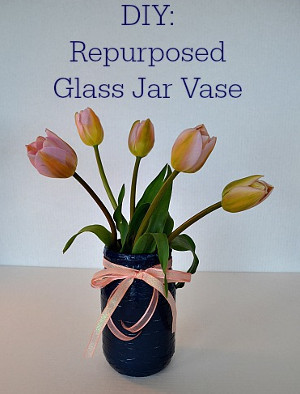
Read NextEasy Mason Jar Vase