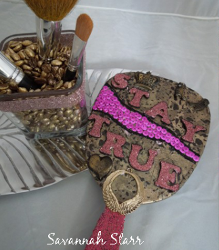
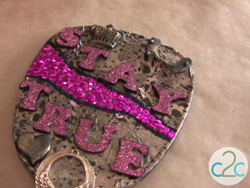
Stay True, Be You Hand Mirror
Turn a dollar store mirror into a meaningful keepsake with this Stay True, Be You Hand Mirror from Savannah Starr. Dollar store craft ideas are perfect for frugal crafters and this piece surely fits the bill! Use embellishments such a glitter and tissue paper for your mirror.

Materials:
- Aleene’s Original Tacky Glue
- Aleene’s Collage Pauge
- Dollar store mirror
- Paint brush
- Tissue paper – print of your choice
- Craft foam alphabet letters
- Acrylic paint (color of your choice)
- Glitter (color of your choice)
- Metal embellishments
- Rub ‘n Buff – gold
- Micro beads
- Sequins (colors of your choice)
Instructions:
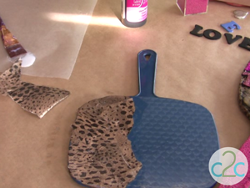
- The first step in transforming your dollar store mirror is to collage tissue paper on the back. I like to tear my tissue into approximately 2″ – 3″ pieces. Brush a coat of Aleene’s Collage Pauge onto the back and lay the tissue into the glue. Brush a coat of Collage Pauge over the tissue.
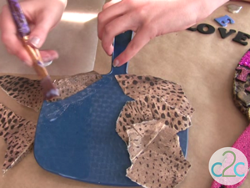
- I like to work sections at a time, overlapping the tissue to cover all of the mirror. Be sure that you also wrap the tissue around the edges and glue in place. Continue to collage until the entire back of the mirror is covered.
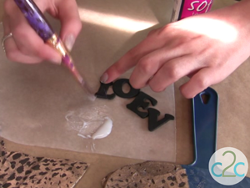
- For the lettering, I used pre-cut craft foam letters. These come in all different colors so I painted the letters black. Let dry.

- Next, I brushed on a coat of Aleene’s Collage Pauge to the front of the letters.
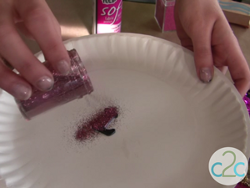
- Place the letters on a paper plate and sprinkle with glitter.
- For the handle, I brushed on Aleene’s Tacky Glue and sprinkled micro-beads into the glue. Let dry. You may find that you need to add more glue and beads to cover any areas of the handle that were missed the first time.
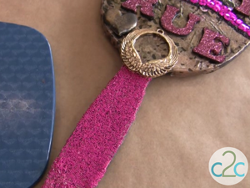
- To decorate the back, I glued the letters in place along with some metal embellishments that I first painted black and then antiqued with gold Rub ‘n Buff. I also glued the sequins in place to create the look of a sparkly path. Remember that the idea behind this mirror is for you to personalize your own mirror with your own power words and colors and embellishments and designs. Make it a reflection of your own creative style!
For a comprehensive video tutorial of this project, check out Stay True, Be You Hand Mirror.