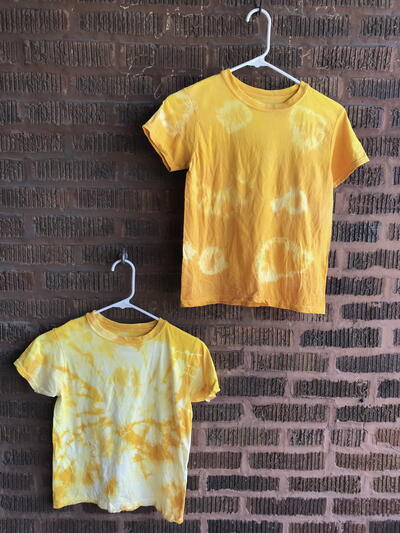
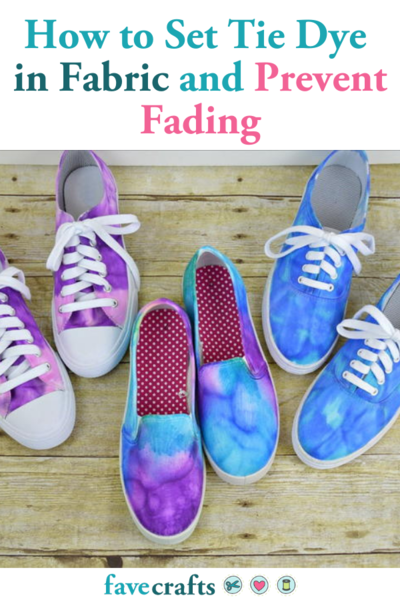
Tie Dye Onesie Design

If you're looking for fun baby shower craft activities, consider creating a Tie Dye Onesie Design. Simply buy plain white onesies from your local discount store and use Rit Dye to create a unique, unexpected tie dye design. Guests can add fun embellishments and sign his or her name upon completion. The new mommy will love dressing her new bundle of joy in these super cute onesies. Best of all, this baby shower craft costs next to nothing. These how to tie dye instructions are super easy and simple to follow. Unlike tie dyeing t-shirt designs, this tie dye tutorial won’t take much time. Onesies are much smaller and take a lot less time to dye and dry!
Materials List
- White onesie
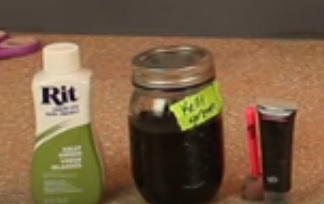
- RIT Dye
- Mason jar
- Rubber bands
- Stencil
- Fabric paint
- Pouncer
Onesie Tie Dye Designs
Instructions
-
Prepare your dye in a mason jar following the directions on the bottle. Microwave the dye for a minute WITHOUT THE LID. Stir.
-
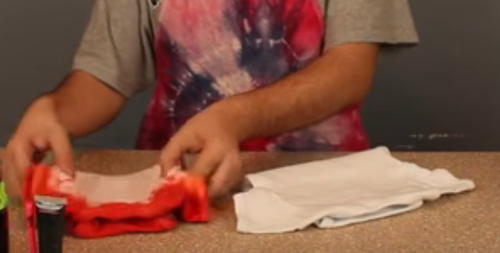
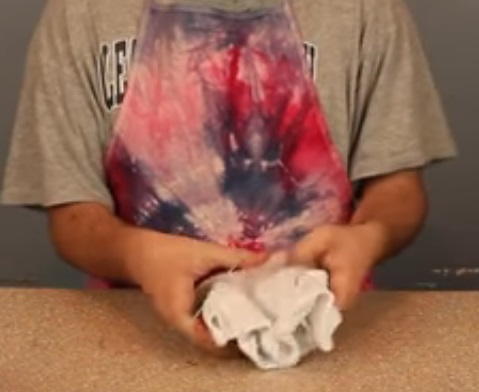
While your dye is microwaving, or before, you can fold your onesie in half and tie a rubber band where the two ends meet.
-
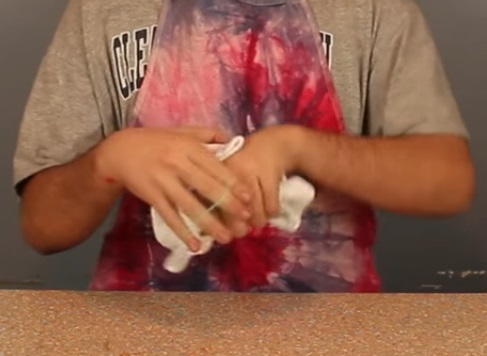
Place the end into the mason jar and let the fabric soak for 30 seconds to a minute. When you are satisfied with the amount of dye the fabric has absorbed, take the project out of the mason jar, place it on some paper towels, and microwave it for one minute.
-
Remove, cut the rubber band, and wash the onesie. You'll want to first rinse the onesie in cold water until the water runs clear. Then you can wash the onesie in your washer and throw it in your dryer. If you're nervous about the dye bleeding onto other clothing, you can wash it with like colors or on the smallest load setting by itself.
-
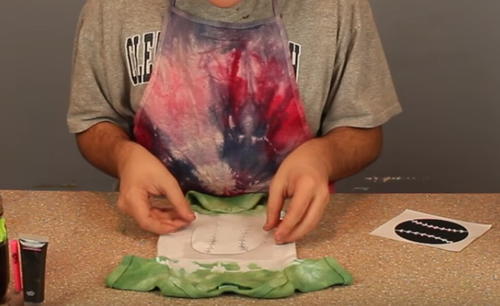
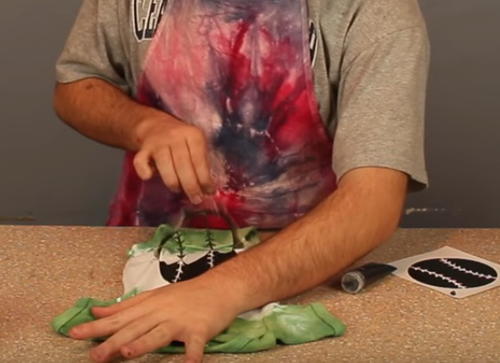
Place your stencil on the fabric. Center it to the best of your ability. Using a stencil with adhesive backing will really help!
-
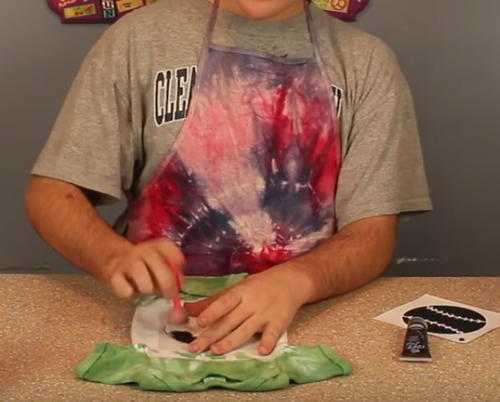
Add a glob of fabric paint onto your pouncer and pounce the paint over the stencil. Apply more paint to the pouncer as needed--this project takes a decent amount of paint for the large stencil!
-
While the paint is still wet, carefully remove the stencil.
-
Let dry. Your new gift is ready!
What tie dye video do you want to see next? Let us know in the comments!
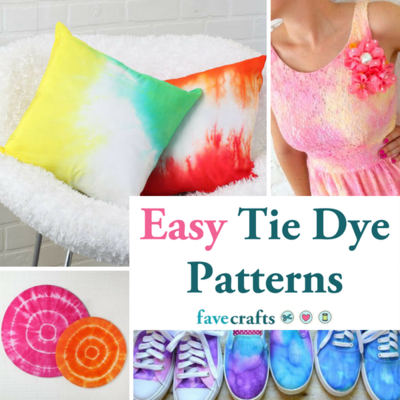
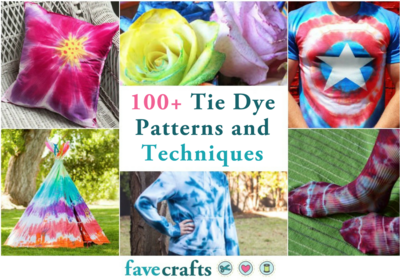
Read Next100+ Tie Dye Patterns and Techniques
Your Recently Viewed Projects
Thanks for your comment. Don't forget to share!
Dana N
Apr 27, 2018
This is a really easy tie dye project and so fast! It seems like it isn't nearly as messy as other tie dye projects and I love the idea of stenciling an image on the front too. Thanks!
Report Inappropriate Comment
Are you sure you would like to report this comment? It will be flagged for our moderators to take action.
Thank you for taking the time to improve the content on our site.