Glittery Coffee Bean Brush Holder
Add a little sparkle to your life and create your own Glittery Coffee Bean Brush Holder from Savannah Starr. This makeup brush holder takes mere minutes to make and will help you stay organized. This craft is fun, girly and absolutely adorable.

Materials:
- Aleene’s Fabric Fusion Tacky Peel & Stick Tape
- Spray paint – gold
- Coffee beans
- Glitter – pink
- Glass votive holder (or glass jar)
Instructions:
-
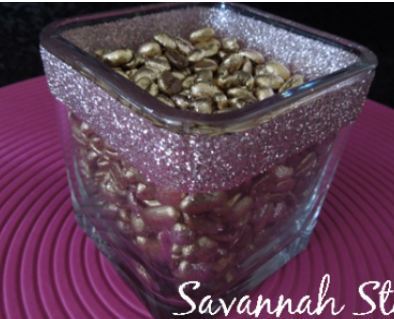
Clean glass to remove all residue. Set aside to dry. Sprinkle coffee beans in single layer in box lid. Spray in well ventilated outside area. While the spray is still wet, sprinkle with glitter. Let dry completely and if desired, turn over and repeat. (I like to leave some of my coffee beans un-painted and un-glittered and mix them all up!)
-
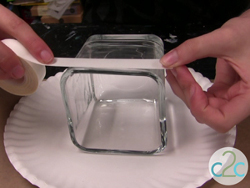
Apply Aleene’s Fabric Fusion Tape to outside of glass. Cut so that ends of liner paper meet but do not overlap.
-
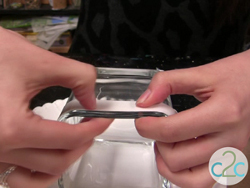
Press tape onto glass with fingers along entire length so that the adhesive transfers to the glass.
-
Carefully lift end of liner paper and remove to expose adhesive.

-
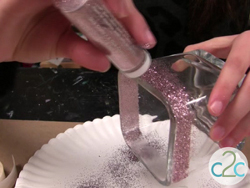
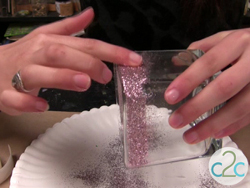
Hold over clean paper plate and sprinkle with glitter. (I like to use a paper plate to catch the glitter so that I can put it back into the tube for next time.)
-
Gently press glitter into adhesive and tap off excess.
-
Fill glass with beans until about 3/4 filled. Press make-up brush handles into beans.
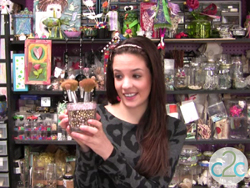
For a comprehensive video tutorial of this project, check out How to Make a Glittered Coffee Beans Make Up Brush Holder.
Read NextModern Home Organizer Pattern
Your Recently Viewed Projects
Thanks for your comment. Don't forget to share!
SissieSass
Jul 31, 2017
I love how sleek and stylish this idea is for the bathroom or bedroom. I love having somewhere neat and organized to put my brushes, and this is so pretty and girly that it fits in with my style more perfectly than anything else I have seen. Thanks so much for posting!
yarnmiss57 2156430
Jan 22, 2013
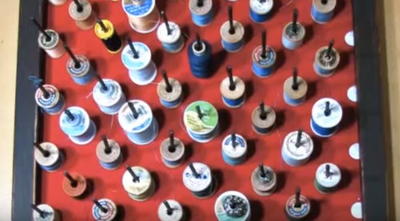
I used a similar project for my make up brushes but I got thinking what about my paint brushes. so I had some large pieces of styrofoam packing and proceeded to cut it in a large 4 inch deep square, pasted it to a 8 in square cardboard and then place my paint brushes into evenly spaced holes within the styrofoam. Now my brushes dry upright or they hold my brushes that have a little paint on them with out damaging the bristles or mixing colors.
Report Inappropriate Comment
Are you sure you would like to report this comment? It will be flagged for our moderators to take action.
Thank you for taking the time to improve the content on our site.