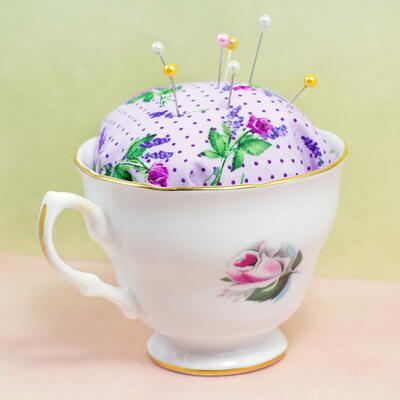
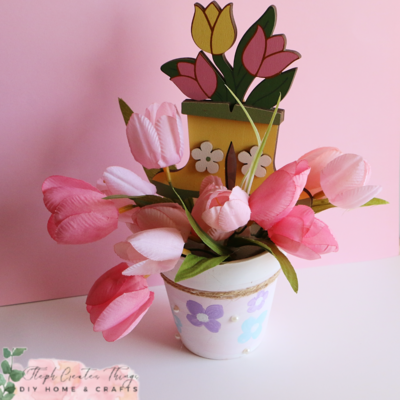
How to Make Teacup Pin Cushions
If you've got plenty of leftover fabric scraps in your stash, why not make a DIY pincushion?

Learn how to make teacup pin cushions your mom will defnitely be trying to steal. If you've got plenty of leftover fabric scraps in your stash, why not make a DIY pincushion? These itty bitty cuties are sure to give your sewing room a vintage feel while providing one convenient storage location for all of those tiny pins and needles. Made with a few simple materials, this simple no-sew project is quick and easy to make. It also makes a wonderful gift for Mother's Day, birthdays, and more!
This teacup pincushion tutorial is great for breathing new life into an old, chipped tea cup that may have sentimental value in your home. Of course, if you don't have one you're willing to convert, be on the lookout for cute, vintage tea cups in local thrift stores or garage sales and create a whole set of pin cushions for yourself and your sewing circle– I'm sure they'll love them!
Want to see more no-sew projects like this in one convenient location–your inbox?
Sign up for the Simply No Sew newsletter
Estimated CostUnder $10
Time to CompleteUnder an hour
Main MaterialFabric

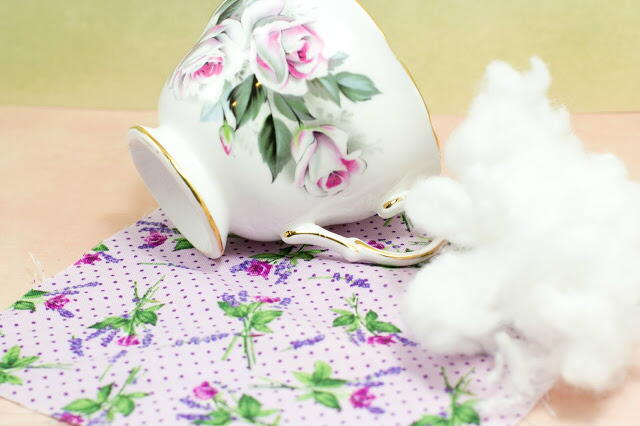
Materials List
- Teacup
- 10" x 10" {25cm x 25cm} Piece Of Fabric
- Stuffing
- Rubber Band or Hair Band
- Hot Glue (optional)
How to Make Teacup Pin Cushions - The No-Sew Way
Note: Gather all your supplies before starting
Directions:
-
Taking your piece of fabric lay it flat, upside down. You want the fabrics pattern to be on the outside when you're done for that extra bit of cuteness.
-
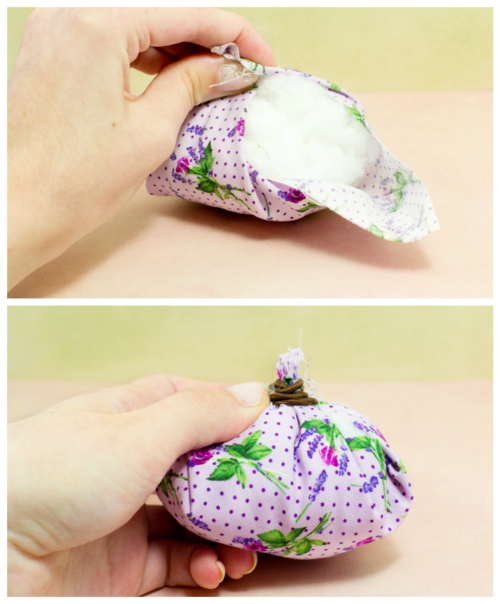
Now take a good handful of stuffing and place it in the center of the fabric.
-
Slowly and carefully take each corner of the fabric and bring it together, making sure that the stuffing is in the middle.
-
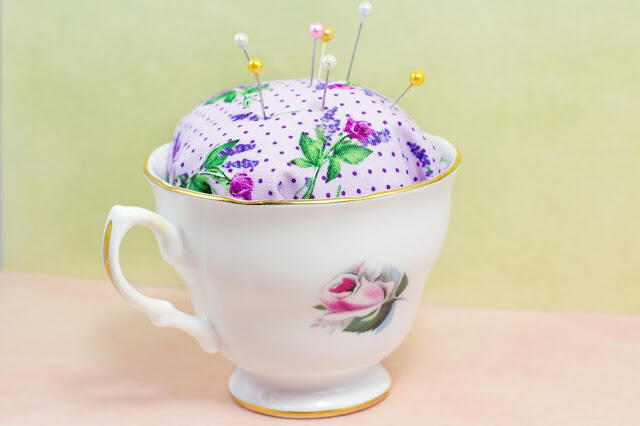
Taking the rubber/hair band in your hand, wrap it tightly around the top of the ball of stuffing. Check to make sure that no stuffing is showing before placing the rubber/hair band side down into your teacup.
-
If your teacup is not particularly special to you, or you want your pincushion to have extra hold then simply place a bit of glue at the bottom of the teacup before placing the pincushion in the inside.
Read NextEmbroidered Denim Bookmarks