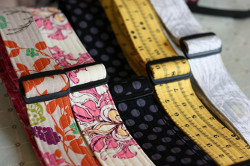
Guitar Strap Tutorial
Add some unique flair to your guitar with this Guitar Strap Tutorial. You can make a custom guitar strap that makes a great gift for musicians. This DIY guitar strap is an easy sewing project that's useful and fun to make. You'll be ready to rock once you make this personalized guitar strap!
Materials:
- 1/2 yard fabric
- 1/2 yard interfacing or fusible fleece (I used interfacing for mine - Pellon Decor Bond)
- cheap guitar strap for all the hardware (you'll have to cut the strap to get the pieces off and unpick the thread on the leather end piece so you can attach it to your end)
Instructions:
-
Take your fabric and cut two pieces 8" x width of fabric. Cut two 8" x width of interfacing pieces as well.
-
Sew your two fabric strips together with 1/4" seam to form one long strip.
-
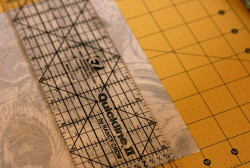
Trim fabric strip to 64" long (I just keep it in folded in half and cut it at 32")
-
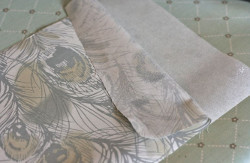
Iron interfacing onto wrong side of fabric. You can overlap your pieces a little where you join the two interfacing pieces together - it's not noticeable when the strap is done. Trim off any excess interfacing at end.
-
Iron in half, wrong sides together.
-
Open and fold in both sides again, ironing to form crease.
-
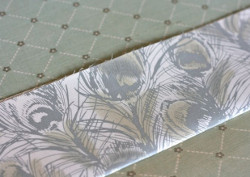
Fold in half once more so you now have a 2" wide strap. Iron and pin along the edge every 3-4".
-
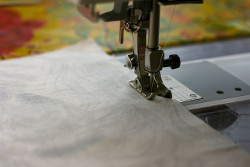
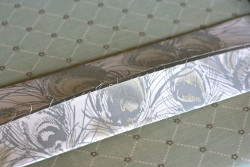
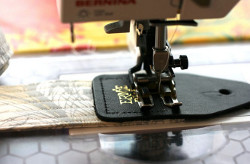
Using your walking foot, sew 1/4" lines down the entire strap. Repeat until you go across entire width of strap. (I like to start on one edge and then do the other edge and work my way towards the middle so it is even)

-
Trim ends.
-
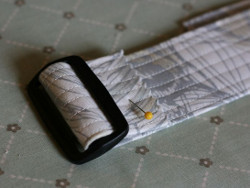
Take your strap hardware and weave strap through the buckle.

-
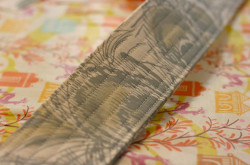
Sew along edge using a zig zag stitch. Repeat a few times to make sure it is secure.
-
Now thread the sliding leather end onto the strap. You'll have to check and make sure your placement is right so that everything is facing the right way when you sew up the last end.
-
After you put the sliding end on, thread your unfinished fabric end back through the buckle.
-
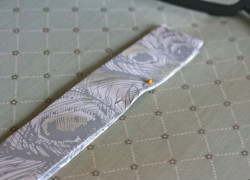
Zig-zag stitch a few times across the fabric end (like a satin stitch - just to finish the end).
-
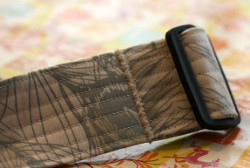
Now sew the remaining leather piece on to the strap end. It looks nice if you use black thread to finish it. You may want to use a thicker needle but it works just fine with a regular one too. I go over it a few times to secure it in place.
-
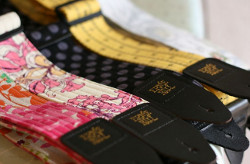
Sew on a label and you are done!
Read NextEmbroidered Denim Bookmarks
Your Recently Viewed Projects
Thanks for your comment. Don't forget to share!
michellewalkerdesi gns 0783269
Aug 05, 2013
Is there anywhere you can buy just the leather ends or the hard wear separately? I am on days 2 of searching and im not having much luck so far :(
Report Inappropriate Comment
Are you sure you would like to report this comment? It will be flagged for our moderators to take action.
Thank you for taking the time to improve the content on our site.