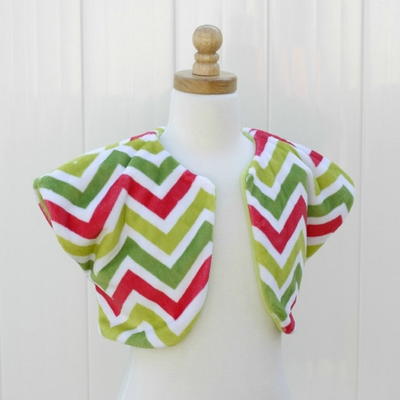
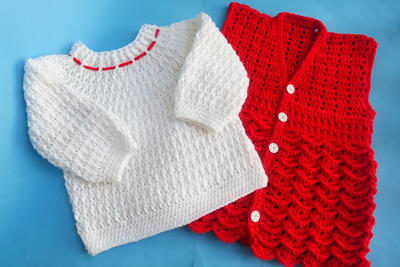
Patterned Ski Vest for Kids
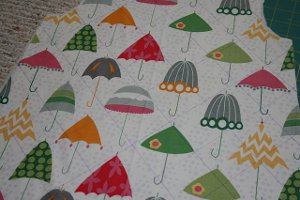
With spring coming soon, now is the perfect time to learn how to sew a vest. This Patterned Ski Vest for Kids from Jessica Gerblick will keep your little ones warm enough to play outside, even in winter's last chilly breezes.
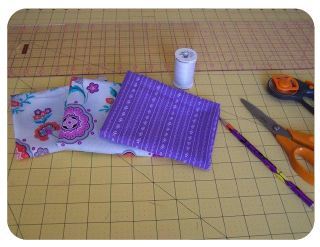
Materials:
- ½ yd - ¾ yd exterior fabric, depending on size of your child
- ½ yd - ¾ yd lining fabric, depending on size of your child
- ½ yd - ¾ yd fusible cotton batting, depending on size of your child
- Coordinating thread
- Snap closures or buttons - your chosen method
- Fabric marker and ruler
- Bias Tape
- Old T-shirt for sizing
Instructions:
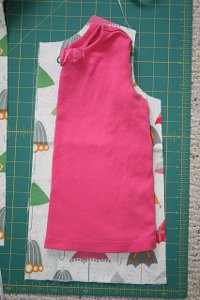
- To get the pattern sizes for your child, you will need an old T-Shirt for sizing. Laying the T-Shirt down on the exterior fabric, fold the shirt in half in the middle, and fold back the sleeve so you cannot see it. Cut 2 front vest patterns using the T-shirt as an outline, adding an additional ½ inch for seam allowance on the sides AND an additional 1.5 - 2 inches in the center for the vest closure. See Photo:
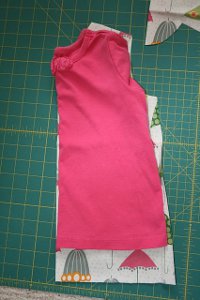
- Now lay the shirt down on the fold of the remaining fabric (the folded center of the shirt will be on the folded center of the fabric) and cut around adding ½ inch for seam allowance all around. This will be the back of your vest. See Photo:
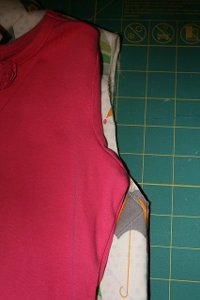
- Now, with all sleeve openings, you will want to cut an additional 2 - 2.5 inches below the bottom curve to allow for additional arm space since this is an outer jacket and sweaters, etc. need to fit under it. See Photo:
- Lastly, take a measuring tape and measure around the entire neckline of the pattern pieces you have just cut (i.e both the back neckline and the necklines of both front pieces). See Photo:
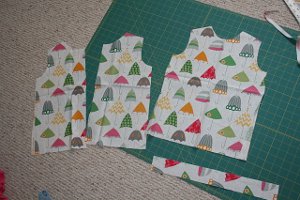
- Cut a rectangular piece of fabric that 2 inches wide and the same length as the neckline measurement. (With this vest, I wanted my collar to stick straight up which is why I cut a straight line. If you would like a folding collar, please cut this piece on a curve). When you are done, you should have the following pieces of fabric shown:
- Using these outer pieces as patterns, cut the same pieces out of both the lining and the cotton batting.
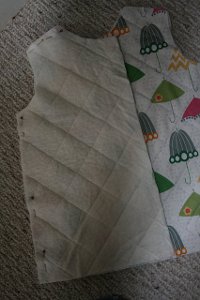
- Iron fusible batting onto the WRONG side of the exterior fabric pieces
- To quilt the vest: Mark a diagonal pattern on each of the exterior pattern pieces. Sew along these lines with a sewing machine to quilt the batting to the exterior fabric. Notes: You may also quilt free hand if you prefer. If you would like both the exterior fabric and the lining quilted, you will need to wait until you have sewn all vest components together and hand quilt.
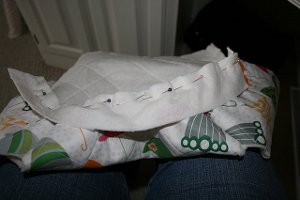
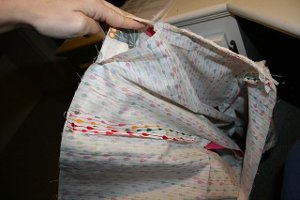
- With right sides together, pin the shoulder and side seams together on the front and back of the vest. Sew along the shoulder and side seams. Repeat for other side. Press seams open or to the side. See Photo:
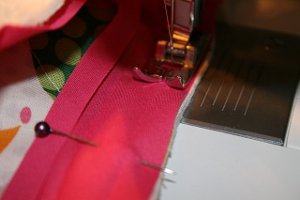
- With right sides together, pin the edge of the collar around the neckline of the vest. Sew. See Photo:
- Repeat the above 2 steps to sew the lining pieces together.
- Now is a good time to try either the lining or exterior vest portion on your child to check the fit. Problems will be easier to fix prior to sewing everything together.
- Now, measuring the armhole all the way around, cut the bias tape, adding 1 inch for seam allowance. See Photo:
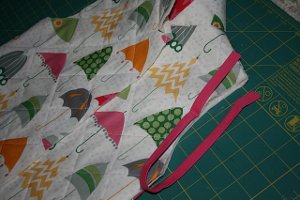
- Sew bias tape closed in a circle, right sides together, being sure to open the tape all the way up before sewing. See Photo:
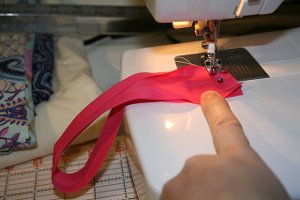
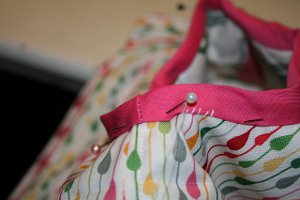
- Unfolding the bias tape, line up the raw unfolded edge with the raw edge of the armhole opening, matching seam. Pin. See Photo:
- Sew along the first inner folded line. See Photo:
- Repeat for other armhole.
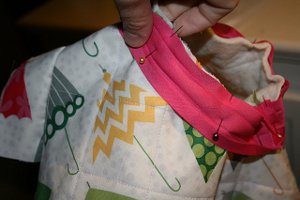
- With right sides together, match up the raw edges of the lining and exterior fabric. Pin all around the outside, leaving a 4-inch opening at the very bottom (so you can turn the vest right side out afterwards). Do NOT sew the armholes together. See Photo:
- Pull vest through opening at the bottom and push out all corners. Push lining inside and press.
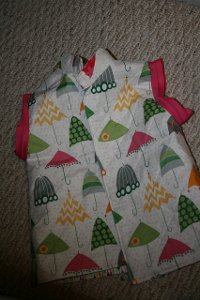
- Whipstitch opening closed and edge stitch around entire outer vest. You will now have this:
- Fold bias tape around the arms inside to the lining, enclosing raw edges. Whipstitch closed. See Photo:
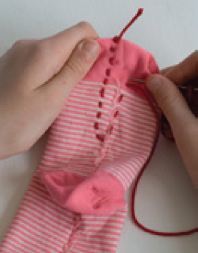
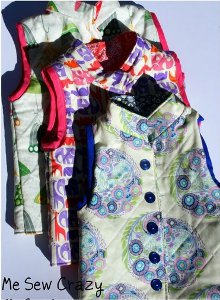
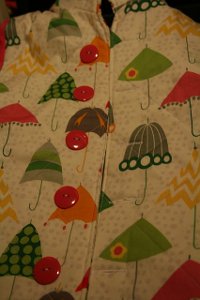
- Add front closures. If using buttons as shown, use the buttonhole maker on a sewing machine and sew buttons to the opposite vest front. See Photo:
Read NextTwenty Minute Baby Blanket