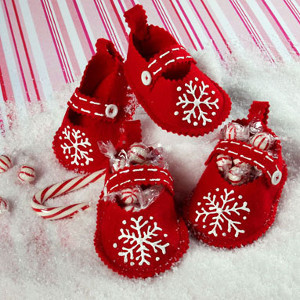
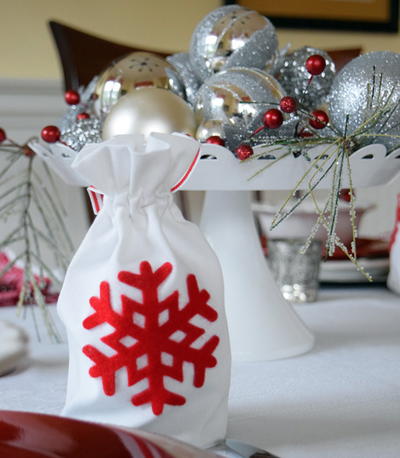
Ornament DIY Gift Bags

"I'm not sure when this tradition started, but for many years my mom has placed a small wrapped gift on each of our Christmas Eve dinner plates. Inside each box is an ornament that chose because of its significance to the recipient. The opening of the gifts is a very methodical process, each of us watching as an ornament is unwrapped. The conversation then turns to why this ornament is perfect for the person who just received it. Several years back, I jumped in and started doing the same thing, but my ornaments have been gifted at Christmas morning breakfast. Not only did I want to enjoy the fun of finding the perfect ornament for each family member, but I wanted mom to have an ornament that she didnt have to pick out for herself.I think my giddiness over these ornaments this year is what prompted me to make these little bags to give them in."
Estimated Cost$11-$20
Time to CompleteWeekend project
Main MaterialFabric

Materials List
- 1 yard broadcloth fabric, I used white
- Coordinating thread
- Sewing machine
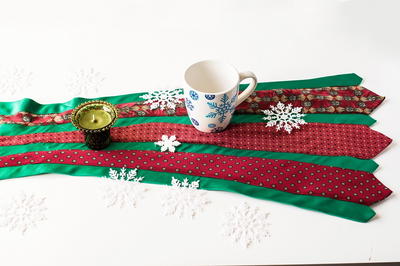
- Felt Snowflakes or other decoration. I got my snowflakes from Sues Creative Workshop on Etsy.
- Coordinating ribbon, mine is 3/8? wide.
- Spray Adhesive
Instructions
-
Using pattern, cut out circles from your fabric for the base of your bags. Just in case you dont have a 4? circle lying about, Ive attached a PDF on my site that you can use to print off and cut your base from. You can make the base your bags bigger or smaller, but the measurements I refer to assume a 4? base.
-
Using theattached diagram as a guideline, cut your fabric for the sides of your bags. I didnt have a piece of paper big enough nor a scanner that would accommodate a bigger piece of paper, so I just sketched out what I did on my fabric. But remember, its Not to Scale! However, the measurements indicated are the measurements I did use when I cut the material for my bags.
-
Pin the bag bottom/base 1/2? in from the end of the widest end of your bag side.
-
Sew the bottom/base of the bag to the side of the bag. Slowly stitch, moving the bottom circle to align as much as possible with the straight edge of your fabric. Because a picture is worth a thousand words, I put a video on my site to better illustrate what you need to do.
-
Starting at the seam that you just sewed which attached the bottom to the sides, mark 5 1/2 inches up from the bottom seam. Sew a seam, starting at seam you just sewed and stopping at mark you just made.
-
Following side seam, iron down sides of fabric above where your seam stopped. See illustration below. Then turn under and iron 1/4? on the top, opening, of the bag.
-
Fold top of bag in half, having the folded 1/4? you just ironed meet with the seam you just sewed up the side.
-
Sew a seam, as shown in picture above.
-
Measure the width of your ribbon, then add about 1/8? to that. Run a seam around your bag. You are creating the channel for your ribbon.
-
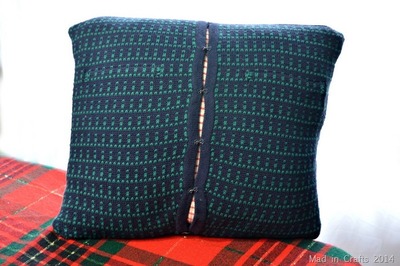
Run your Ribbon through your ribbon channel
-
Use spray adhesive to stick your snowflakes on each bag. I sprayed one side of the snowflake (I did this outside) and then mounted it onto the bags.
-
I added little tags to each bag, thinking that they will stay on the bags so that each person will have their own bag again next year.
Your Recently Viewed Projects
Thanks for your comment. Don't forget to share!
mulberrygalprinces s
Aug 10, 2018
These are just great. They are very easy to make, take very little material, and are cute as can be. To me, that's the entire requirements to making any project. I can see them being used for other days too. Put a birthday candle on it and your gift is all wrapped!
Report Inappropriate Comment
Are you sure you would like to report this comment? It will be flagged for our moderators to take action.
Thank you for taking the time to improve the content on our site.