How to Create Different Quilting Patterns Using a Walking Foot

Learning how to quilt is definitely not easy; but, this How to Create Different Quilting Patterns Using a Walking Foot video tutorial makes it a little bit easier. Plus, you can create your DIY quilt from start to finish once you learn this handy technique. It doesn't matter if you're an avid quilter or if you are looking to pick up a new hobby to pass the time, this quilt video will be a great resource for you to look at if you are in need of some tips or tutorials. The best part is that this craft video breaks down 4 different patterns you could make in on short video!
Estimated CostUnder $10
Time to CompleteUnder an hour
Primary TechniqueQuilting

Project TypeLearn a Technique
Materials List
- Sewing Machine
- Thread
- Walking Foot
How to Quilt Using a Walking Foot
Instructions for DIY Quilt Patterns
-
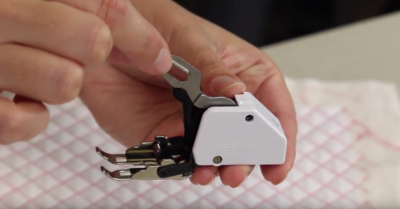
Attach the arm that moves up and down to the needle bar and secure the foot in place. When you lower the needle you should see the arm go up and down.
Tip: Be sure to purchase the walking foot for your brand of sewing machine. -
Stitch in a Ditch: If you have your seams pressed to the side you will see one side of your seam is raised and the other is hidden in a "ditch" of sorts.
Place your quilt underneath your machine and lower your foot. Make sure your needle is placed right underneath the machine in the "ditch" seam. This method will keep your seam virtually hidden. -
Straight Line Quilt: This is great for a quilt that has a lot of open or negative space.
Draw a line in the center of your quilt. Stitch down the line you drew and you will have your first line in your straight line quilt. Then you can use the edge of your walking foot to measure where to make the next line. -
Match Stick Quilting: This is a very popular quilting method for modern quilts or quilts with a more modern look to them.
Start by straight line quilting all of your rows. Stitch your second row roughly in-between the two middle rows you've already made, and stitch all the way down.
Continue to add lines all the way down one side, and then repeat the process all the way down the other side.
Repeat this entire process a second time. -
Grid Quilting: This is another great way to quilt when you have a lot of negative space. You can do this on an angle or straight down the middle however you would like.
Start by drawing a line down the middle of your quilt again. Stitch with your walking foot from one end to the other. Continue making more lines by using your walking foot as a guide. Go all the way down one side and then all the way down the other.
Using a ruler line up your center line and draw it from point to point on the other side so you are crossing over your last stitches. This will create the "grid" look.
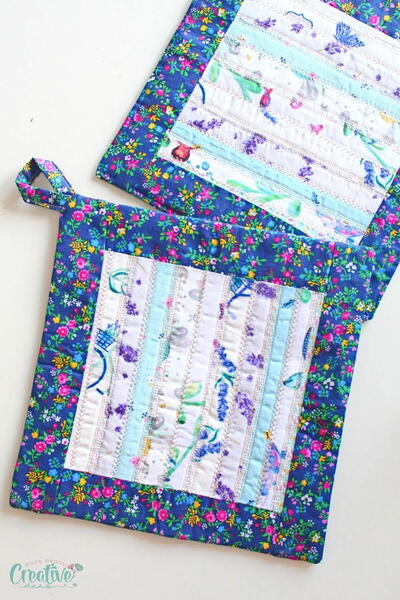
Read NextNo Binding Hot Pads