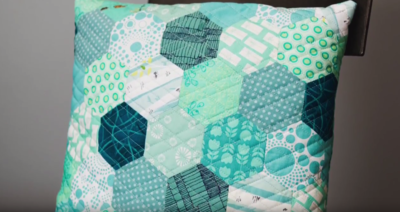
Easy English Paper Piecing Hexagons Technique

Seeing perfectly lined up seams in different quilt patterns can seem discouraging or challenging. This Easy English Paper Piecing Hexagons Technique will give you the perfect pattern every time. This quilt video breaks down exactly what you have to do in order to achieve this super gorgeous hexagon paper piece pattern that you can use to make a DIY quilt, quilt blocks, or other projects like a pillow or bag cover. However you want to use this easy-to-achieve design this how-to video will quickly make you a master of it!
Time to CompleteIn an evening
Primary TechniqueQuilting

Project TypeLearn a Technique
Materials List
- Paper Pieces in shape of hexagons
- Fabric
- Sharp fabric scissors
- Sewing needles
- Glue pen
- Marking pen
- A comfortable thimble
- Thread
How to English Paper Piece Hexagons
English Paper Piecing Hexagons Technique
-
Trace your hexagons onto your fabric using a water soluble pen.
-
If you want perfect seam allowanced you can use a ruler, or you can estimate it and cut it.
-
Cut a variety of different fabrics and patterns for an interesting look.
-
Place your fabric hexagon face down, put a paper hexagon in the center of your fabric lining up the edges, add a line of glue along one side, and press down the fabric using your fingers.
-
Repeat on the opposite side, and continue to do the whole way around the hexagon.
-
Allow it to set before you stitch them together.
-
Place two hexagons right side together.
-
Insert your needle up through the back of one of your hexagons. Secure your thread with three small stitches in place.
Tip: Try to avoid going through the paper when doing this step. -
Stitch all the way across the seam with stitches between 1/8 and 1/4 of an inch apart.
-
Once you have reached the end of your seam finish it by stitching three stitches right in place.
-
To add the next hexagon place it face down where you are going to want to stitch it, and repeat the stitching process.
-
To complete the Y seam, fold your project in half, line up the seams, and sew the same way you sewed the other seams.
-
Continue to add more hexagons all the way around.
-
To Take Out Papers: make sure you have your center piece completely sewn to all the other pieces of your patter, or make sure your pattern in completed. Then, pull back the fabric and slide your paper out.
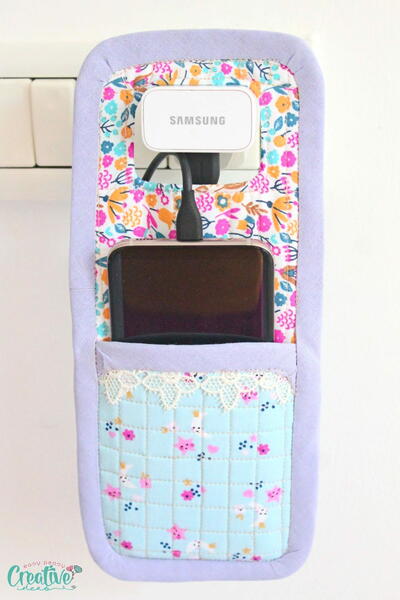
Read NextQuilted Phone Charger Holder
Your Recently Viewed Projects
Thanks for your comment. Don't forget to share!
Report Inappropriate Comment
Are you sure you would like to report this comment? It will be flagged for our moderators to take action.
Thank you for taking the time to improve the content on our site.