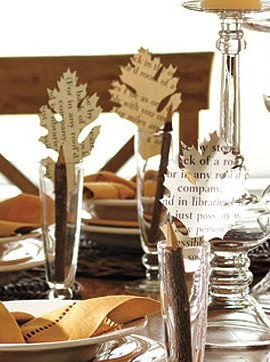
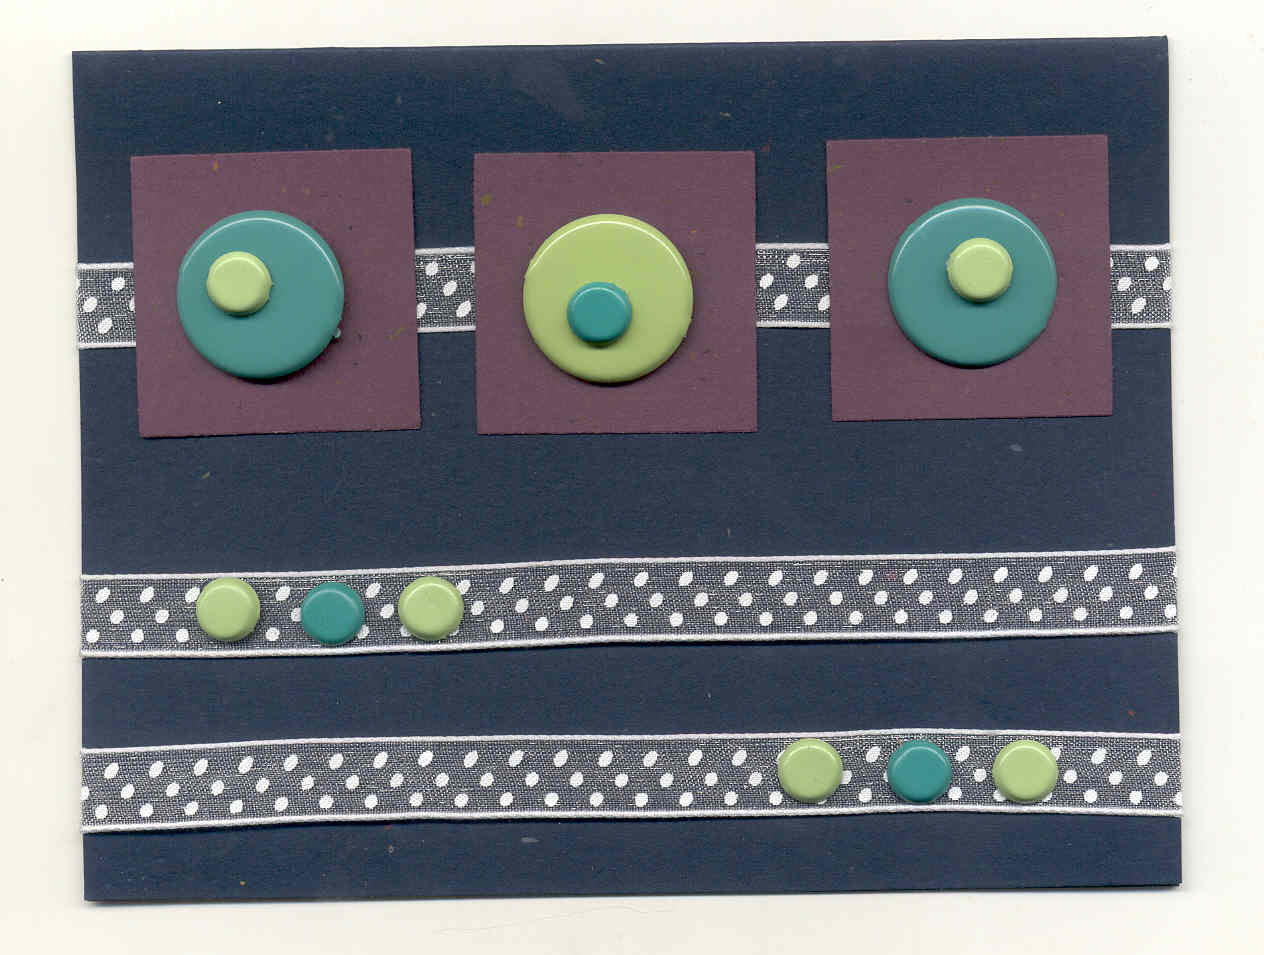
Olive Anyone? Card
Two colors and sizes of brads create quirky olives for a handmade card which could easily become an invitation to cocktails.
By Maria Nerius for CreateForLess.com
Materials:
- Paper Accents Card and Envelope
- Paper Accents Wine or Burgundy Cardstock
- 3 Big Brads (Queen & Co, SEI or Karen Foster)
- Nine 1/4" Brads (American Crafts)
- Three 6 1/2" lengths of 1/2" Ribbon (American Crafts)
- Glue Dots
- Aleene’s Twice As Tacky Glue
- Wire Cutters
- Uchida Clever Lever Super Square Punch
Coordinate your card, cardstock, and brads. The sample shown has a masculine flair to it, but feel free to mix it up! The sample shown used sheer ribbon, which isn’t always easy to adhere without seeing the glue. Take note that most of the glue used to adhere the ribbon in place is hidden (under smaller brads, under the paper squares, and inside the card.
Steps:
- Punch 3 squares of cardstock.
- Lay your ribbon lengths down onto card front. See placement on photo or use your own design. Ribbon is held in place by gluing raw ends to inside top/left of your card. You’ll have work with the card open and flat, get your placement, flip card and glue raw ends. It’s a balancing act, but the results are worth it. Make sure you lightly pull ribbon tight across the front. Allow glue to dry.
- Glue squares to card front with Glue Dots.
- Trim prongs from brads with wire cutters.
- Using Glue Dots: glue big brads onto squares; glue smaller brads on top of big brads; glue 3 small brads to second ribbon line, glue 3 brads to third ribbon line. Note when gluing smaller brads to the big brads I didn’t center the smaller brads giving the “olive” look, you can also center the smaller brads for a more classic feel.
- If you don’t like the raw look of the ribbon inside the card, just cut a mat and glue to inside top/left.
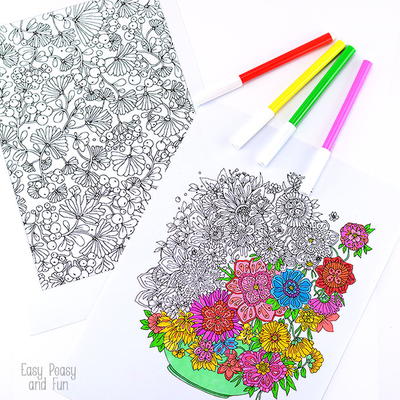
Read NextMandala Flowers Coloring Page