This project was submitted by one of our readers, just like you.
Coloring Book Pages Box and Bags

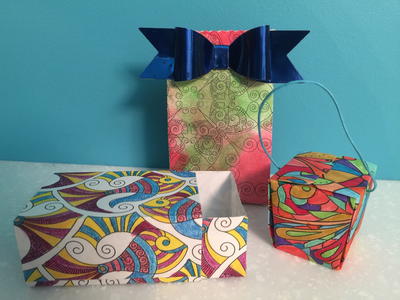
Coloring Book Pages Box and Bags
In the Designer's Words: "I used the Leisure Arts Art of Coloring Animals book and coloured 3 pages: 1 - I used Watercolour Pencils, 2 - I used really wet Watercolour Paints and 3 - I used Distress Markers. I then cut the pages using a variety of dies, to form 3 different boxes and bags. I cut the Therm O Web Toner Sheets from a Bow Die and used the Navy Deco Foil to make the die shiny! This project can be made using any Colouring Sheets and your choice of dies! It's a great way to use your colouring sheets and feature them in a project!"
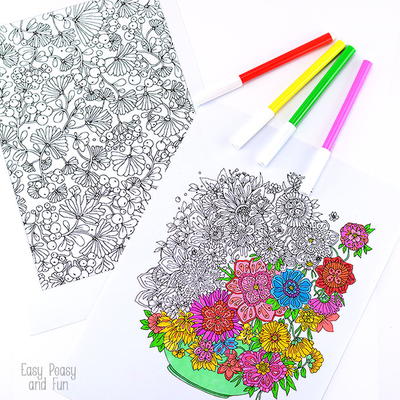
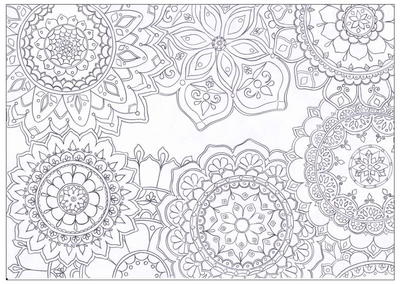
Adult coloring book pages are sweeping the DIY craft world with their stunning designs and moments of zen. Shading in coloring sheets can be a relaxing and fun activity, but many crafters are at a loss as to what to do with these stunning designs once they have completed their pages. It is not like you can send them home to mom and dad to hang on the fridge, after all. That is why this how to make a box idea is brilliant. Learn how to transform your coloring book pages into DIY boxes and homemade gift bags when you make the Coloring Book Pages Box and Bags.
Estimated Cost$31+
Time to CompleteIn an evening
Primary TechniqueColoring
Project or Page Size8.5 inches x 11 inches
Type of Paper UsedConstruction Paper

Materials List
- Leisure Arts Art of Coloring Animals
- Derwent Inktense Pencils
- Distress Markers
- Watercolour Paints
- Therm O Web Navy Foil
- Therm O Web Toner Paper
- Lifestyle Crafts Bow Die
- Lifestyle Crafts Mini Takeout Box
- Lifestyle Crafts Matchbox
- Lifestyle Crafts Mini Paper Bag
Instructions
-
Color the pages from the colouring box using them media of your choice.
-
Cut the page using the die of your choice.
-
Glue your box/bag together.
-
Cut the Therm O Web Toner paper using the Lifestyle Craft bow die.
-
Run the Toner paper Bow and navy foil through a laminator.
-
Glue the bow together and attach it to your bag/box.

Read NextMandala Flowers Coloring Page
Your Recently Viewed Projects
Thanks for your comment. Don't forget to share!
Hannah
Aug 24, 2017
This is worth a try! It's pretty easy and cheap. I can use my daughter's coloring pages for this project.
rchlbrntt 5052592
Jun 26, 2016
Note where your coloring books are FROM! MADE! There are also coloring pages - both simple and complex - to be found online. Just print and color! Try Crayola's page, and look up crayola's "free-coloring-pages" and click "adult coloring pages" and there are two, the one I lokked at called "intricate-designs-coloring-pages". There are others as well, all over the web. Print on half-way decent paper and you're set! Most, if not all, paper can be found Made In Usa as well. We can have fun with a clean conscience!
Report Inappropriate Comment
Are you sure you would like to report this comment? It will be flagged for our moderators to take action.
Thank you for taking the time to improve the content on our site.