Nuts and Bolts Christmas Ornaments
Use spare bolts, washers and other hardware to create a snowman, angel or Santa ornament for Christmas. Kids can help thread the hardware onto beading wire to create the ornament bodies. Heidi Borchers of Inspired at Home shows us how to create these ornaments.

Materials
For each:
- Assorted nuts and washers
- 1 (3/4”-diameter) wooden ball
- Drill with ¼” diameter bit
- Paintbrushes
- 1 (10”) length 30-gauge beading wire
- Aleene’s® Super Thick Tacky Glue™
- Patterns
For Santa
- 1 (1/4” diameter) long bolt
- Metal spring-type anchor
- Red spray paint
- Acrylic paint - blush, black
- Felt scraps – red, black, white
- Silver metallic paper scrap
- 1 (1/4” diameter) red pom-pom
For Angel
- 1 (1/4” diameter) long bolt
- Wing nut
- Gold spray paint
- Acrylic paint – blush, black, lt. pink
- Off-white yarn
- Paper scraps – pink, gold metallic
- Ribbon – 5” length ¼” wide gold metallic, 14” length 1” wide gold star print
- 1 (7/8”) gold star button
For snowman
- 1 (1/4” diameter) 3” long bolt
- Wing nut
- White spray paint
- Acrylic paint – white, black, red
- Orange dimensional paint
- Fine-tip permanent black marker
- Black felt scrap (for hat)
- 1 (1/2” x 4”) strip red plaid fabric
- Stuffing (small piece for top of snowman’s hat)
Instructions:
For each, thread assorted nuts and washers onto bolt as desired to form body of ornament, leaving ¼” at end of bolt uncovered for neck. For Santa, use spring-type anchor for arms. For angel and snowman, use 1 wing nut each for arms. Spray-paint each body. Let dry.
For each, drill 1 hole through wooden ball for head. For Santa and angel, paint ball blush. For snowman, paint ball white. Let dry. For each, paint facial features on ball. For snowman, paint nose with orange dimensional paint, draw mouth with black marker, and dot black acrylic paint on body for buttons. Let dry.
For each, bend wire length in half. Wrap ends of wire around body about ¼” from top. Thread loop of wire through hole in bead, pushing bead down onto free end of bolt. Glue head to bolt to secure. Let dry.
For Santa, transfer patterns and cut 1 hat from red felt, 2 gloves from black felt, 1 mustache and 1 beard from white felt, and 1 buckle from silver metallic paper. Measure around 1 end of anchor. Cut 2 (1/4” wide) strips from white felt to that measurement for wrist trim. Also from white felt, cut 2 (3/4” diameter) circles for hat pom-pom and 1 (3/8” x 4”) strip for hat trim. Measure around body at center. Cut 1 (1/4” wide) strip from black felt to that measurement for belt. Curve hat into cone shape around head, overlapping straight edges and catching hanger in hat tip. Glue in place. Referring to photo, glue felt pieces, paper buckle, and red pom-pom in place on ornament. Let dry.
For angel, cut various lengths of yarn and glue to head for hair. Transfer patterns to paper and cut 2 hands from pink and 1 arm from gold metallic paper. Reverse pattern and cut 1 more arm from gold metallic paper. Tie each ribbon in bow. Referring to photo, glue hands, arms, and bows in place on ornament. Let dry. Thread loop of hanger through holes in star button, pushing down to head. Glue bottom of button to head. Let dry.
For snowman, cut 1 (1-1/2” diameter) circle for hat brim and 1 (1” x 2-1/2”) strip for hat crown from black felt. Center and cut 1 (5/8” diameter) circle in hat brim. Roll hat crown to form tube, overlapping ends. Glue in place. Referring to photo, glue hat brim, hat crown, and red plaid scarf in place on ornament. Glue stuffing inside hat crown. Let dry.
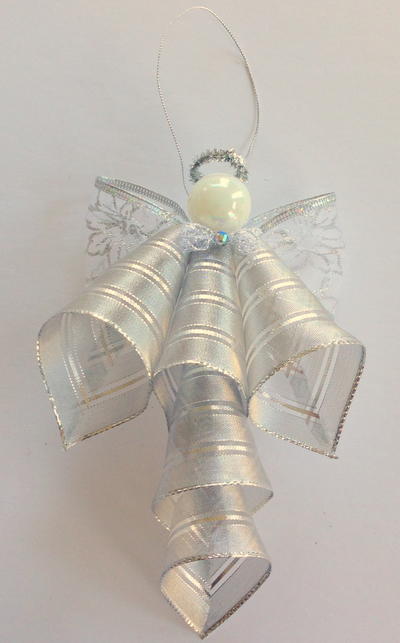
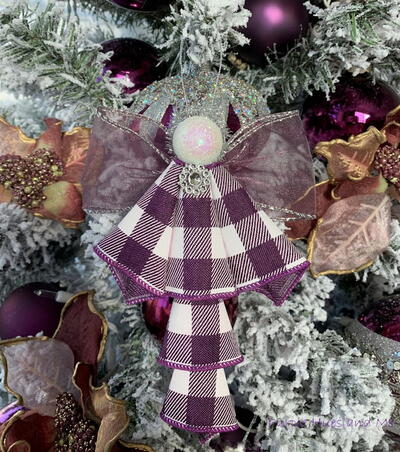
Read NextPurple Plaid Angel Ornaments
Your Recently Viewed Projects

Thanks for your comment. Don't forget to share!
LR4KSU
Dec 17, 2009
I was able to print the patterns by setting my paper to landscape rather than portrait orientation. Hope that helps!
Tiffany Windsor
Dec 10, 2009
I labeled the patterns. Hopefully that will help ) Get creative, get inspired, have fun!
LisaP
Dec 06, 2009
I love making things from recycled materials, this is a great way to use up old nuts and bolts!
HRHCraftQueenie
Nov 27, 2009
I found that printing the santa pattern in portrait orientation worked best. I read through the instructions and noticed that there are NO other patterns for the angel and snowman. How to do them is in the instructions. Hope that helps Kathybeangel
Kathybeangel
Nov 22, 2009
When I downloaded the patterns, all I could get is the santa one. The angel and snowman are not even anywhere to be found. Could you please tell me how those other two can be downloaded. Thank you Kathy
Report Inappropriate Comment
Are you sure you would like to report this comment? It will be flagged for our moderators to take action.
Thank you for taking the time to improve the content on our site.