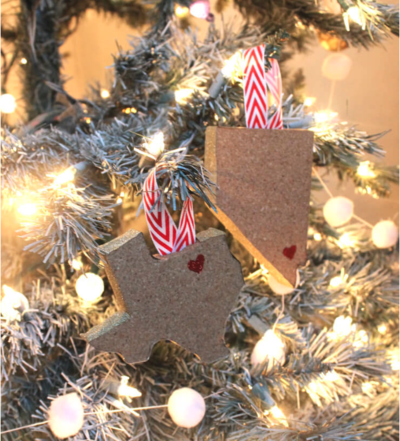
Christmas Snowflake Molds
Ornaments and baking are essential parts of the Christmas season. Use Christmas Snowflake Molds as a baking dish or add a string and make it an ornament! This homemade christmas craft is perfect gift.

Supplies:
- Colour de Verre Snowflake
- mold
- Small, soft primer brush
- Balance or digital scale
- Small plastic bag and hammer
- Goggles or safety glasses
- Hotline Primo Primer
- Water Clear fine frit
- Your favorite colors of fine frit
- 5 grams of dichroic glass scraps
Instructions:
- Always start by giving your mold four to five thin, even coats of Hotline Primo Primer. It is the only primer we recommend, because it doesn’t obscure the mold’s fine details and the glass won’t stick and ruin the mold.
- Use a soft brush to apply the primer and a hair dryer to completely dry each coat before applying the next. Even though they may look funny, put on the safety glasses.
- Put the dichroic glass scraps into the heavy, plastic bag. Fold over the bag’s opening.
- Use the hammer to crush the glass scraps into pieces the size of dry, split peas. Sprinkle half the crushed dichroic glass into the mold. And then sprinkle a few grams of your favorite frit color or colors into the mold’s design recesses.
- Tap the mold to settle the frit evenly. Measure out 25 grams of Water Clear fine frit.
- Distribute this frit evenly into the mold. Finally, sprinkle the remaining crushed dichroic frit into the mold.
- Fire to a “sugar fire” – about 1300 degrees F (705 degrees C). Use the casting schedule.

- Wait until the mold is completely cool and remove it from the kiln. The castings should fall out. If they are stubborn, turn mold facedown and tap it against a hard surface cushioned with several layers of newsprint.

- Turn the casting into an ornament, create a 3” loop of monofilament and use either “super glue” or hot glue to attach the loop to the mold’s back. A casting can be made very special by attaching a inexpensive jewelry pendant finding to the mold’s back.
- Use a silk or satin ribbon to hang the casting. Thoroughly clean the mold with a stiff brush between every firing to remove all the old primer. Avoid breathing any dust by wearing a proper dust mask. Note: These schedules are for Uroboros COE 96 glass. Exact temperatures will depend on your particular kiln. You may substitute your favorite brand and color frit.
- Fire COE 90 glass about 10 to 20 degrees F hotter.