Chevron DIY Side Table
Jazz up your side table with a little paint to make it into this Chevron DIY Side Table. Sometimes, all it takes is a few simple changes for DIY home decor to make a huge difference in a room or even your whole house. With this DIY furniture project, you can even take an old table and turn it into a statement piece in any room. DIY home decor ideas don't have to be elaborate and time-consuming in order to drastically upscale the rest of your home decorating.
Primary TechniquePainting
For more great home decor craft projects from Stencil Ease®, check out 13 DIY Home Decor Ideas.
Materials:
- Stencil Ease® Wallace Wall Painting Stencil
- Stencil Ease® Repositionable Adhesive Spray
- IKEA® LACK Side Table, Black-Brown
- DecoArt® Americana® Acrylic Paint, White Wash
- DecoArt® Americana® Acrylic Sealer Finisher, Matte
- Shurtape Technologies LLC Frog Tape®
- Stencil Ease® 5/8” Stencil Brush, White Bristle
- Paper Towels
- Paper or Plastic Plate
- Tape off the outer edge of the top of the IKEA® LACK Side Table using the Frog Tape®.
- In a well ventilated area, preferably outdoors, very lightly spray the Top of the table with DecoArt® Americana® Matte Acrylic Sealer Finisher and let it dry (only for about 10 minutes).
- Spray the back of the Stencil Ease® Wallace Wall Painting Stencil very lightly with the Stencil Ease® Repositionable
Adhesive Spray and let the adhesive dry.
- Apply the stencil to the surface of the table.
- Adhere painters tape to the table under each triangle registration mark and mark them.
- Pour some of the DecoArt® Americana® White Wash Acrylic Paint onto the plate.
- Load your Stencil Ease® 5/8” White Bristle Stencil Brush with White Wash DecoArt® Americana® Acrylic Paint and then swirl the brush onto your paper towel until it seems like all of the paint is removed. This creates a dry brush and leaves the perfect amount of paint on your bristles. Using a dry brush prevents paint from seeping under the cut-outs of the stencil. This part of the process is essential if you would like clean/crisp lines when you lift your stencil.
- Either stipple (lightly tapping over the stencil cut-outs) or swirl the paint onto the table.
- You can immediately remove the stencil and line up the registration marks for your next repeat, either vertically or horizontally. The instructions on how to use the registration mark system are included with your stencil.
- Repeat this process until you have completely covered the table.
- Spray a light final coat of the DecoArt® Americana® Matte Sealer Finisher on the table top.
- Allow the table dry completely overnight.
For more information about Stencil Ease® or to purchase Stencil Ease® products, please visit www.stencilease.com.
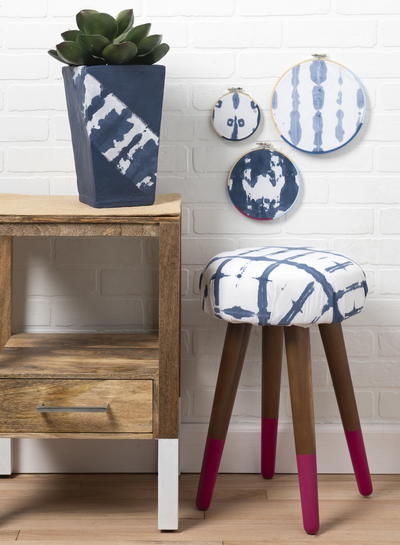
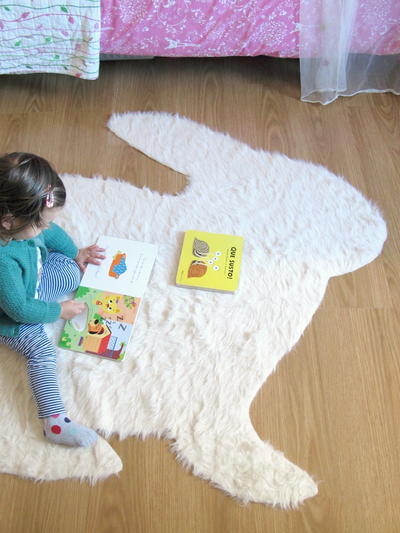
Read NextRabbit DIY Rug
Your Recently Viewed Projects


Thanks for your comment. Don't forget to share!
Weberme
Mar 26, 2018
Want to dress up some furniture to change the look of your room then try this chevron side table. They use a table from Ikea but you can use one you have too. Just put a chevron stencil down and paint. Let dry and there you have a new look. You can do this with other furniture too. A great way to decorate on a budget and make using your color choices.
Report Inappropriate Comment
Are you sure you would like to report this comment? It will be flagged for our moderators to take action.
Thank you for taking the time to improve the content on our site.