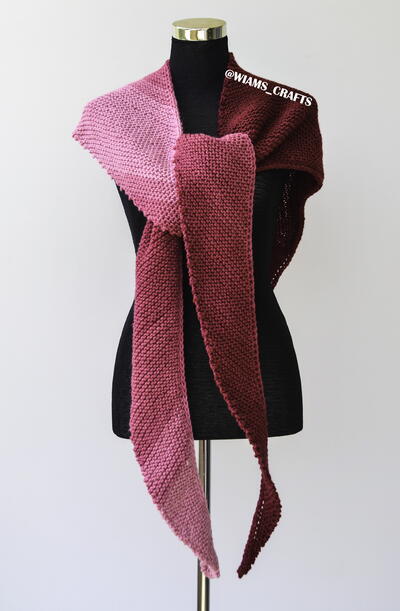
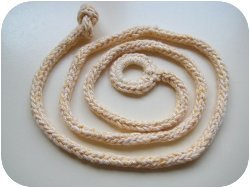
Knitted Knotty Necklace
Knit yourself a decorative knot necklace. It's tongue-tied. This braided necklace is a great way to make your own jewelry. It's a DIY craft you and your friends can do at get togethers.

Materials:
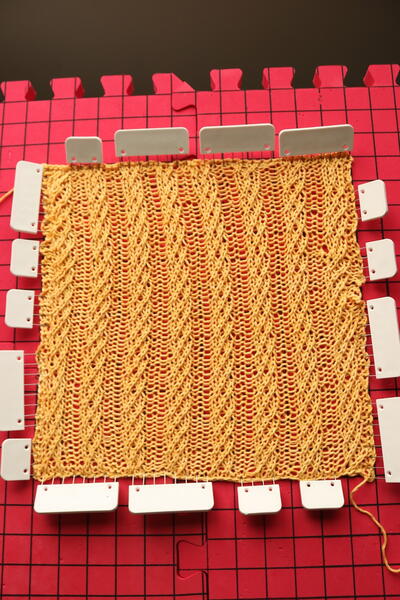
- 50g of Cotton Rich by Cascade Yarns, in lemon yellow
- Yarn needle
- Two double pointed needles size US 7 (4.5mm)
- Crochet hook G (4.5mm)
- Scissors
Notes:
- This pattern requires very basic and simple crochet, knitting, and knotting techniques.
- It's essentially an i-cord with a crochet "fastener" and knot.
- It doesn't matter how long your DPNs are, but the shorter ones are easier to work with.
- I recommend using a cotton yarn so it won't pill as you’re working the knots.
- 50 grams of yarn could make 2 or more necklaces... one for you and one for a friend!
- Finished size is about 38 inches (about 92 cm).
Gauge: Exact gauge isn't essential, as long as the stitches aren't too loose or too tight.
Abbreviations (US):
CH - chain
SL ST - slip stitch
SC - single crochet
beg - beginning
DPN - double pointed needle
K - knit
Steps:
Crocheting the Fastener
Make a slip knot and leave a short tail to secure and weave in.

- CH 10

- SL ST in first CH to form a ring

- CH1 and 20 SC into ring.

- Join with SL ST in top of beg CH.
Anchoring the I-cord
Here, I marked the stitches that will anchor your i-cord in pen.
- Pick up a ST through the back loop of first ST.

This is a yarn-over inserted through the 1st stitch.

This is the same stitch being pulled through.

- Pick up next ST through the back loop.

Knitting the I-cord
- Switch to DPN. This photo is exactly like the first one, but with different needles. It’s easily done by holding down your stitches as you switch.

- Slide stitches to the right end of the DPN, the yarn will be at the left side of the stitches. And now begin knitting, K3.

This is what 3 stitches on your right needle should look like.

- Do not turn the work, slide the stitches to the other end of the DPN.
- Pull the working yarn tightly along the back and K3.

- Repeat Steps 9 & 10 until the i-cord is 36 inches (92cm).
Finishing
Bind off. Weave in loose ends.
Tie a simple knot at the end of the i-cord.

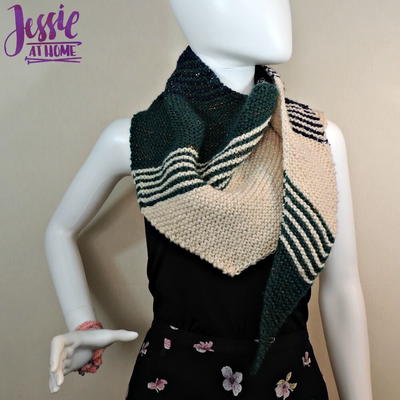
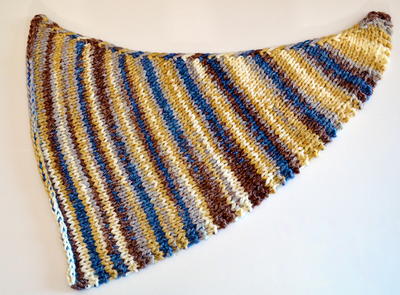
Read NextStriped Wedge Knit Pattern
Your Recently Viewed Projects
Thanks for your comment. Don't forget to share!
Crafter 0735581
Jul 22, 2010
I am wondering how this is worn. Is the knot just slipped into the ring?
cat lover
Jun 26, 2010
Mammoth, Did you look at the pattern? Only the circle is crocheted! The rest is KNITTED!
Report Inappropriate Comment
Are you sure you would like to report this comment? It will be flagged for our moderators to take action.
Thank you for taking the time to improve the content on our site.