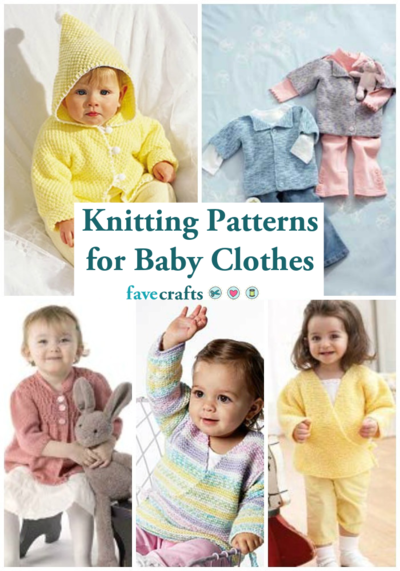
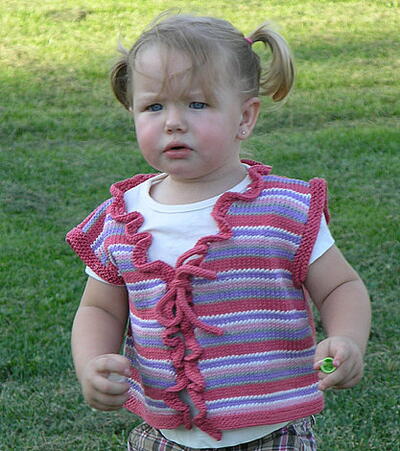
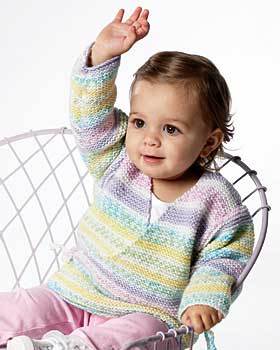
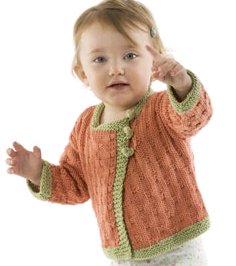
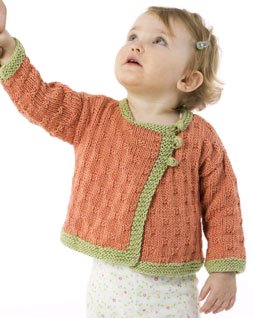
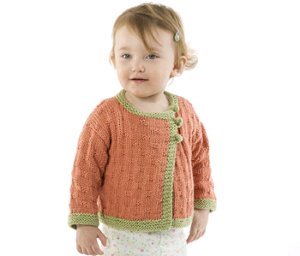
Asian Inspired Baby Jacket
Put those knitting needles to use with this free baby knitting pattern from Caron International Yarns! Make an Asian inspired baby jacket for your worldly baby or toddler to wear on her international adventures.


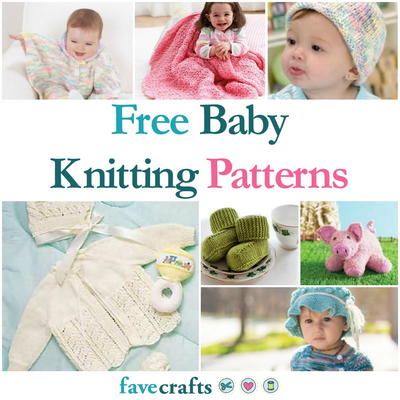
This darling pattern and more can be found in our collection of 17 Free Modern Baby Knitting Patterns.
Materials:
- Naturally Caron.com Country 75% Microdenier acrylic, 25% Merino wool; 3 oz/100 g, 185 yds/170 m ball): 2 (6, 9) oz (MC); 1 ball (CC) – all sizes--Shown in: # 0002 Coral Lipstick (MC); # 0004 Green Sheen (CC)
- One pair size US 8 (5 mm), or size to obtain gauge
- Split-ring stitch markers
- Stitch holders
- Crochet hook size US F-5 (3.75 mm) for button loops
- One snap
- Yarn needle
- Three Buttons
- Row counter (optional)
- One pair double pointed needles, (dpn) size US 6 (4.25 mm) for I-cord buttons
- Pattern

SIZES
- Small (Medium, Large)
- To Fit Baby's size 6 – 9 (12 – 18, 24) months
KNITTED [or FINISHED] MEASUREMENTS
- Chest 20 (22, 24)"/51 (56, 61) cm
- Length 10 (11, 13)"/25 (28, 33) cm
GAUGE
- In Garter stitch, 18 sts and 32 rows = 4"/10 cm, using larger needles
- In Sugar Cubes pattern, 18 sts and 24 rows = 4"/10cm, using larger needles
SPECIAL TECHNIQUE
- 3-Needle Bind Off (Joining 2 pieces together as you bind off.): Place the stitches of the pieces to be joined on separate needles, (or each end of a circular needle), held one behind the other with right-sides facing each other, in left hand; with a third needle, (the same size or 1 size largerthan used for knitting the pieces), k2tog [1 from the front needle, 1 from the back needle—1 stitch on right-hand needle], *K2tog [2 stitches on right-hand needle], bind off 1 stitch in usual manner; repeat from * to end.
- I-Cord: Using a double pointed needle, cast on, [or pick up] the number of sts indicated in instructions; DO NOT TURN. * Slide sts to the opposite end of the needle and knit them, pulling yarn firmly behind sts; repeat from * to desired length. After a few rows, you will see that you are knitting a tiny tube; give it a gentle tug now and then to adjust any loose sts. Bind off all sts, leaving a 12" tail for finishing.
STITCHES USED
- Garter stitch
- Knit all sts every row.
- Sugar Cubes (multiples of 8 sts)
- Row 1 (RS): Knit.
- Row 2: * P6, k2; repeat from * across to last 6 (2, 6) sts, purl to end.
- Rows 3 and 7: Knit the knit sts and purl the purl sts as they face you.
- Row 4: Purl.
- Row 5: Knit.
- Row 6: P2, k2, * p6, k2; repeat from * across to last 2 (6, 2) sts, purl to end.
- Row 8: Purl.
- Repeat Rows 1 – 8 for Sugar Cubes patt.
NOTE
- Contrast color (CC) Front band is work at the same time as each Front, Intarsia Method (using a separate ball of yarn for each section).
BACK
- Using larger needles and CC, cast on 46 (50, 54) sts.
Lower Border
- (WS) Begin Garter st; work even for 7 rows.
- Fasten off CC; join MC.
Establish Pattern
- (RS) Begin Sugar Cubes patt; work even until piece measures 9 1/2 (10 1/2, 12 1/2)" from beginning, end with a WS; place a marker (pm) each side of center 16 (18, 20) sts for neck.
Shape Shoulders and Neck
- (RS) Work in patt across to first marker; bind off center sts for neck, work to end—15 (16, 17) sts each side for shoulders. Place shoulder sts on separate holders.
- Faster off yarn.
LEFT FRONT
- Using larger needles and CC, cast on 34 (38, 42) sts.
Lower Border
- (WS) Begin Garter st; work even for 7 rows.
- Fasten off CC; join MC.
Establish Pattern
- (RS) Using MC, work in Sugar Cubes patt across to last 4 sts; pm, join CC, knit to end for CC Front band. Continue as established, working Front band sts in Garter st with CC, until piece measures 8 1/2 (9 1/2, 11)" from beginning, end with a RS row.
Shape Neck
- (WS) At neck edge, bind off 15 (18, 19) sts, work to end in pattern—19 (20, 23) sts remain.
- (RS) Work 1 row even.
- (WS) At neck edge, bind off 2 sts every other row 2 (2, 3) times—15 (16, 17) sts remain for shoulder.
- When piece measures same as Back to shoulder, place remaining sts on holder.
RIGHT FRONT
- Work as for left Front, reversing shaping by working neck shaping at beginning of RS rows.
SLEEVES
- Using larger needles and CC, cast 32 (34, 36) sts.
Lower Border
- (WS) Begin Garter st; work even for 7 rows, increasing 0 (4, 2) sts evenly across last (WS) row—32 (36, 38) sts.
- Fasten off CC; join MC.
Establish Pattern
- (RS) Using MC, begin Sugar Cubes patt; work even for 6 rows, end with a WS row.
Shape Sleeve
- (RS) Beginning this row, inc 1 st each side every 8 rows 3 (4, 5) times, working increased sts in patt—38 (44, 48) sts.
- Work even until piece measures 7 (8 1/2, 10)" from beginning,
- Bind off all sts.
FINISHING
- Join shoulder seams using 3-Needle Bind-Off.
- Measure down 4 (4 1/2, 5)" from shoulder seam each side, Back and Front and pm for underarm.
Neckband
- With RS facing, using larger needles and CC, pick up and knit 68 (74, 80) sts evenly around neck shaping, beginning and ending at center Front edge.
- Begin Garter st; work even for 5 rows.
- Bind off all sts loosely.
- Sew sleeves between marker; sew sleeve and side seams.
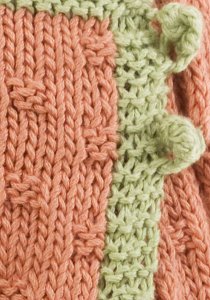
Buttons (optional – make 3 or purchase 3 buttons)
- Using smaller (double pointed) needles and CC, cast on 4 sts.
- Work in I-cord for approx 2". Fasten off, leaving a 3 or 4" tail to us to sew button to garment. Knot the cord twice to form button; sew to left Front as shown in picture (about 3 1/2" from Front edge). Sew the next one 1 1/4" down from first, and the third 1 1/4" below second.
Button Loops (make 3)
Note: Loops may be worked using crochet hook and chain stitch, or they can be worked using a length of I-cord.
- Using hook and CC, work a chain 1 1/2" long. Sew chains opposite buttons on the right Front edge on WS.
- Sew snap on left Front neck band on RS close to the edge, and sew the other half on the right Front neck band on WS. Weave in ends and block lightly, if necessary.
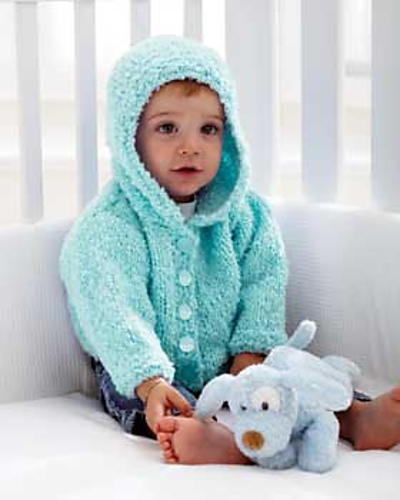
Read NextBaby Hoodie Knitting Pattern
Your Recently Viewed Projects
Thanks for your comment. Don't forget to share!
marciaclemens 1873 180
Apr 05, 2014
Can anyone tell me how I can make this big enough for a size 24 months?
FaveCrafts Editor JL
Apr 07, 2014
Hello! For specific pattern-related questions, I suggest contacting the designer (Caron Yarns) directly via their designer profile or posting your question on our Facebook wall. Thanks!
Report Inappropriate Comment
Are you sure you would like to report this comment? It will be flagged for our moderators to take action.
Thank you for taking the time to improve the content on our site.