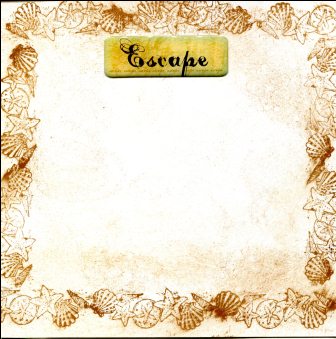
Sandy Beach Card
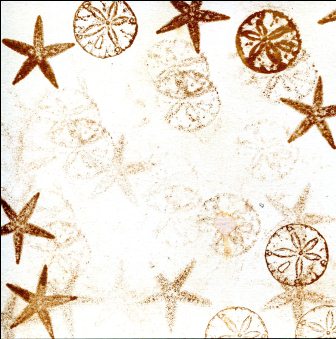
A little smudging and use of generational stamping gives this card duo a rustic lazy day at the beach look. This card by Maria Nerius is a great project for the beginner or beach lover.
Materials:
- Canson 6 1/4” x 6 1/4" blank card pearl finish
- Assorted sea life stamps (starfish, sand dollar, border shell stamps used)
- Distressed Ink brown
- Gold pigment ink
- Sponge
- Word sticker (optional)
Instructions:
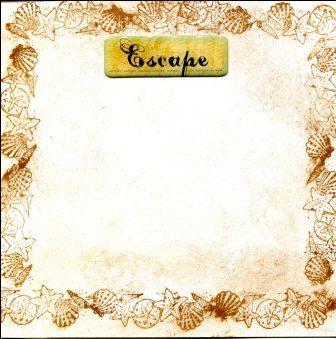
- Sandy Beach Version 1: Stamp top, sides, bottom with border stamp. Note that stamp is inked and stamped twice (second generation image is slightly ligher), repeat until all sides are done.
- Pounce sponge onto distressed ink pad, then pounce onto card starting at top, pouncing slightly down, then sides, pouncing slightly in, then bottom, pouncing slightly up. This adds a overall distressed look to the card. Repeat this same technique with your gold pigment ink.
- Place word sticker at top center or bottom center. This is a single piece style of a card, you only have a front and back unlike traditional greeting cards that you can open.
- Sandy Beach Version 2: Stamp with starfish stamp inked with distressed brown stamping several times before re-inking the stamp. The second, third and fourth generation images will get lighter and lighter. Repeat with sand dollar stamp. This is just one of the variations you can do using the generational stamping technique. Have fun with it and experiment.
Read NextBelieve Flourished Homemade Card