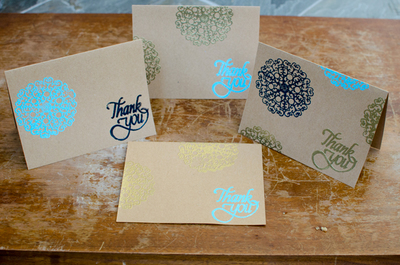
3D Thankyou
Handmade card making always comes from the heart and shows that you care. Say thank you to a friend with this wonderful project from Craftwell using the ECraft machine.

Materials:
- eCraft Cutting Machine
- Fundamentals 1 SD Card
- 5.5”x8.5” Cardstock (Folded in Half)
- 3”x5.5” Cardstock: for Panel
- 1.5” x 4.25” Cardstock: for Sentiment
- Pattern Cardstock: for Flower
- Pattern Cardstock: for Sentiment
- Ink for flower edges
- Ink for Sentiment
- Ink for Panel
- Bone Folder & Ruler
- Scrap Cardstock
- Buttons
- Baker’s Twine
Instructions:
- Cut the word ‘Thanks’ from Fundamentals 1 SD Card (Category 8, Image 9) at 3” on one of the pattern papers.
- Cut 2 flowers (category 3, Image 4) from Fundamentals 1 SD Card at 2.5” on one of the pattern papers.
- Ink the edges of the flowers and sentiment if desired.
- Score in between the petals all the way to the other side. Do this all the way around the flower and repeat on the 2nd flower.
- Using a fine tip scissors, cut along one of the score marks, but stop at the center. Repeat on the other flower.
- Fold on the score lines going around the flower, alternating between a mountain fold and a valley fold. Start with the mountain fold. Apply adhesive to the top of the first mountain fold on both sides of the fold.
- Take your 2nd flower and place the first mountain fold directly on top of the mountain fold with the adhesive. Do the same thing on the other side so that the two flowers now have formed one flower.
- Cover your scrap piece of cardstock completely with adhesive and apply to the back of the flower.
- Press down in each valley fold to make sure the fold has adhered to the cardstock.
- Apply liquid adhesive under the mountain folds and ontop of the scrap cardstock to help stabilize the flower.
- Add a little hole in the middle.
- Thread your baker’s twine in the top button and tie it off. Use a strong liquid adhesive to adhere the buttons in the middle of the flower.
- Allow the flower to dry.
- While drying, emboss or press your panel cardstock. Apply ink to the panel, accentuating the embossed features of the cardstock.
- Adhere card panel to card base. Adhere sentiment strip towards the bottom of the card.
- Adhere sentiment onto the sentiment strip.
- Once flower is dry, add adhesive to the underside of the scrap cardstock stabilizing the flower. place on your card and allow to dry.
Read NextFoiled Butterfly Notecards