3D Garden Card
Use paper marbling techniques and 3D self-adhesive foam squares to make the pansy on the card come to life. Great for birthdays and holidays, this beautiful handmade card design can be personalized with any message you'd like. This pattern also comes with the pansy flower already colored and designed, so all you have to do is print out the image! This is a fun and easy card for crafters of all skill levels, and is a great way to send a warm greeting to friends and family alike.

Materials:
For Background
- One sheet of ordinary white printer paper
- Acrylic paint in the following colors: sweet memories (pink), plum, white and dark brown
- One clear transparency sheet
- A few sheets of old newspapers to protect the working area
- Toothpicks
- Four teaspoons
- Old credit card
For Card
- Two printouts of provided pansies
- Piece sized 8.2” x 6” cut from a Glitter Paper Dots 12” x 12” scrapbook paper from Upikit International, product code GP4177
- 3.2” x 5.2” natural Hessian (burlap)
- 2.6” 4.6” cut from the marbled paper made as per instructions above
- 3D self-adhesive foam squares
- Dark pink and tan colored paper craft string
- Quick drying glue
- Pencil
- Ruler
- Pair of standard scissors
- Pansy Printout
Instructions:
For Background
-
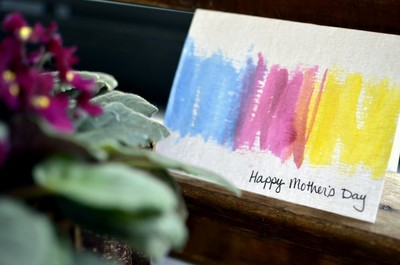
Use the teaspoons to drop blobs of the four colors of paint onto the transparency sheet.

-
Create a marbling effect by swirling the toothpicks through the blobs of paint.

-
Place the sheet of printer paper over that marbled paint and gently press down on the paper, so that the paint will be absorbed onto the paper.
-
Lift the paper and place it on the table, with the painted side facing upwards.
-
Use the old credit card to scrape off any excess paint and allow the paper to dry.

For Card
-
Score the 8.2” x 6” scrapbook paper in half to create a card sized 4.1” x 6” ~ the glitter dots must be on the outside of the card.
-
With the fold at the left, center and glue the Hessian on the front of the card.
-
Center and glue the piece of marbled paper in place.
-
Cut out one pansy and glue to the front of the card.
-
Cut out a part of the second pansy, omitting the leave at the top, and use the 3D self-adhesive foam squares to affix the second pansy on top of the first.

-
Cut out the bottom leave and pollen tube from the third pansy, and use the 3D self-adhesive foam squares to affix the third pansy on top of the other two.
- Use the paper craft strings to tie a bow, and glue this in place below the pansy.
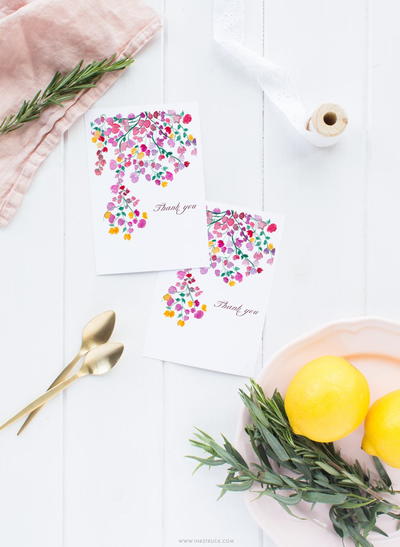
Read NextFloral Free Watercolor Printable