Bold Button Water Bottle Bracelet
Wear your personality on your sleeve! A Bold Button Water Bottle Bracelet by Heidi Borchers makes a big statement at a low cost. Use an empty water bottle as your base and dip into your stash of buttons - it's that easy!
Materials:
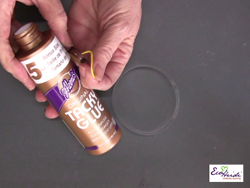
- Aleene’s Original Tacky Glue in the Gold Bottle
- Clear water bottle with smooth edge
- Craft knife
- Blue low mask tape
- Scissors
- Embroidery floss – assorted colors (approximately 5″ length for each button stack on bracelet)
- Buttons – assorted shapes, colors, sizes – I use Blumenthal Lansing buttons!
Instructions:
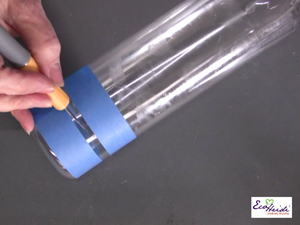
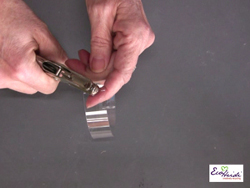
- You can create many bracelets from one water bottle. I like to use blue tape to mark off for easy cutting. Remove all labels from water bottle. Apply tape to water bottle leaving approximately 1/4″ between rows. Use craft knife to cut bottle between tape.
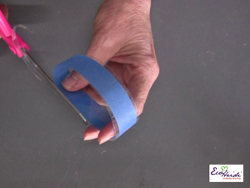
- Use scissors to cut right along tape line. Remove tape from bottle.
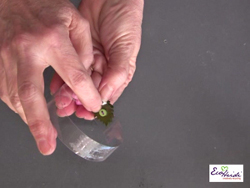
- Determine placement for first button and punch hole in water bottle.
- I like to rub a small amount of Aleene’s Tacky Glue on the end of my piece of embroidery floss. This helps to stiffen the end of the floss so that you can easily thread through the button holes.
- Cut floss pieces to approximately 5″. Select one tiny button and several layers of other stackable buttons. Thread one end of floss through one hole in tiny button. Bring floss back up through second hole. Thread both ends of floss through punched hole. Pull taut to inside of bracelet.
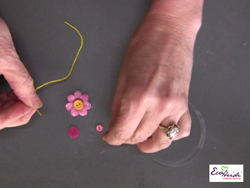
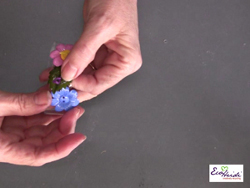
- On top side of bracelet, thread ends of floss through the floral button and round button (continue to stack more buttons if desired). Tie floss into double knot and trim ends to approximately 1/4″.
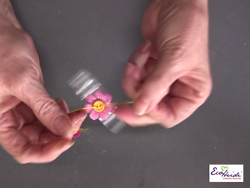
- Determine placement of next button and punch hole in water bottle bracelet. Note: I like to tuck my buttons underneath each other to create a very full bracelet design. Repeat process for applying glue to end of floss. Thread floss through tiny button to anchor button to the inside, thread both ends of floss through the punched hole and thread through button. Cut off ends of floss to approximately 1/4″.
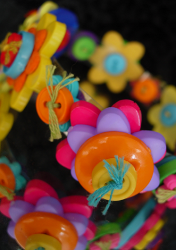
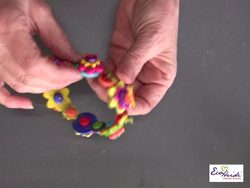
- Continue to add buttons until entire bracelet is covered.
- In this photo, you can see the variety of tiny and small buttons that I used on the inside of my bracelet and you can see that I sometimes stack 3 or 4 buttons on my bracelet.
For a comprehensive video tutorial of this project, check out How to Make a Button Water Bottle Bracelet.
Read NextMake A Pompom With Recycled Fur
Your Recently Viewed Projects

Thanks for your comment. Don't forget to share!
mulberrygalprinces s
Jan 28, 2018
What a smart idea. I have the bottles and a huge button stash so I am ready to create. My ten year old grand daughter will really like this one. She is into crafts and recycling projects. And she loves bracelets. So this is right up her alley. Thanks for sharing.
Marilyn B
May 24, 2017
Love the idea of making several bracelets from a simple plastic water bottle! I have made button bracelets from elastic and this idea is much sturdier! As an option, you could cut the plastic to fit a larger wrist to make a bangle, or add some elastic to secure the ends. I love using so many buttons from your stash, I sure have plenty, and these would make great gifts!
jeddah1055 6939908
Feb 06, 2013
I love this idea I can see my grand daugther and I doing this I give it a 10
Report Inappropriate Comment
Are you sure you would like to report this comment? It will be flagged for our moderators to take action.
Thank you for taking the time to improve the content on our site.