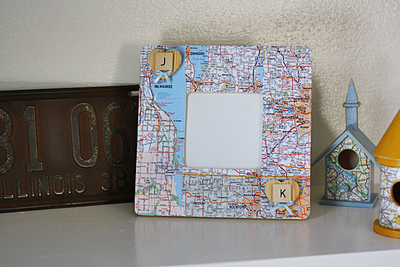
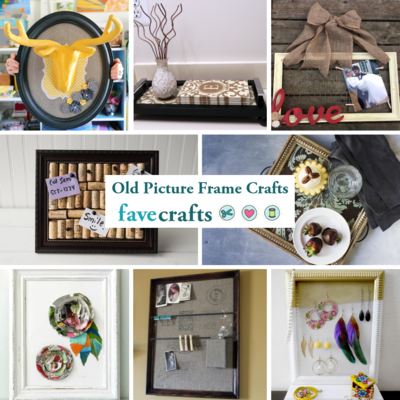
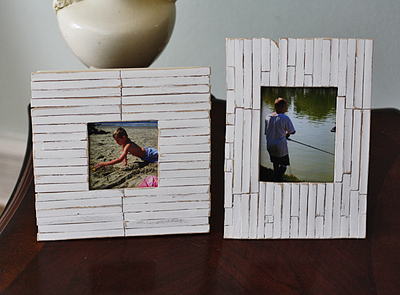
Design Your Own Photo Mat
If you've ever wanted to design your own photo mat, these easy instructions from Melissa Langer will show you how. Making custom picture frames is easy when you create your own signature picture mat to showcase your favorite photos.

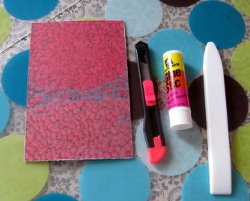
Materials:
- Flip-Pal mobile scanner (or any scanner)
- Piece of inkjet paper
- Scissors
- Glue stick
- Bone folder
- Ready cut photo mat
- Sharp utility knife
Instructions:
- Scan an image of your favorite object or design and crop it to the size of your photo mat.
- Print the image on the inkjet paper.
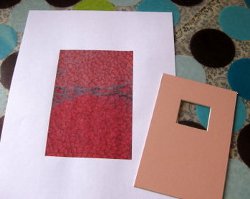
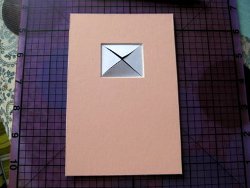
- Cut the white borders off of the image and use a glue stick and the bone folder to glue down and smooth the paper onto the photo mat.
- Place your mat on a friendly cutting surface and use your sharp utility knife to cut an X from corner to corner of your paper through the mat opening.
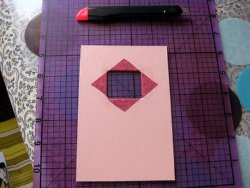
- Use the glue stick to apply a thin layer of glue above each flap.
- Fold and burnish down each triangle flap to the mat.
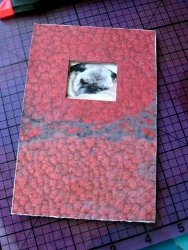
- Insert your favorite photo, flip over your mat and you're done!
Read NextTea Light Frame
Your Recently Viewed Projects

Thanks for your comment. Don't forget to share!
Report Inappropriate Comment
Are you sure you would like to report this comment? It will be flagged for our moderators to take action.
Thank you for taking the time to improve the content on our site.