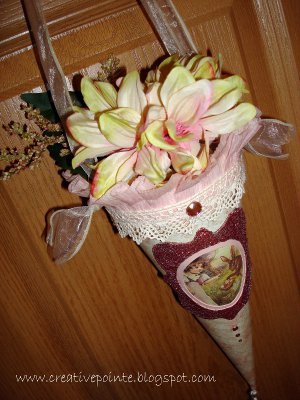
Vintage Easter Cone
Nothing quite says Easter like this beautiful Vintage Easter Cone. Sophisticated Easter crafts like this make great gifts for mothers and grandmothers, especially when you put some chocolate inside!

Materials:
- Paper Mache Cone-- 10.63” x 4”
- 12” x 12” paper – K & Company “Life’s Journey”, cut to fit
- Vintage image—Victorian Image Crafts “Easter Collage Sheet”, printed on white cardstock
- Delta Acrylic Paint—Nectar + Antique White (1:2)
- Cricut and SCAL program or similar chipboard frames
- Pink Crepe Paper—72”
- Ribbon Lace—13”, Spare Parts
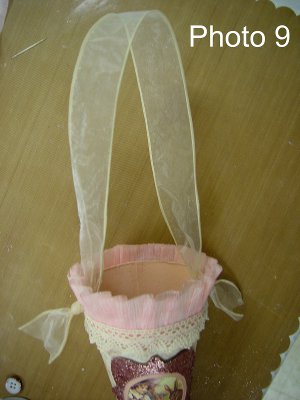
- 1.5” Wired Organza Ribbon—24”
- Tassel
- Grunge paper
- Glitter—Stampendous “Pink Fine”
- Distress Ink—Victorian Velvet
- Jewel Embellishments
- Tissue Paper
- Floral stems
- Workable Fixative
- Sobo Glue
- Glue Gun
- Foam Brush
- Craft Knife
- Drill
- SCAL Pattern
Instructions:
- Choose your vintage image. Print image on white cardstock and spray with fixative.
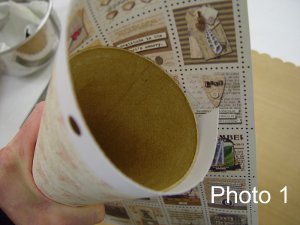
- Taking the 12 x 12 paper, wrap paper around cone and mark inside with pencil for a cutting guide.
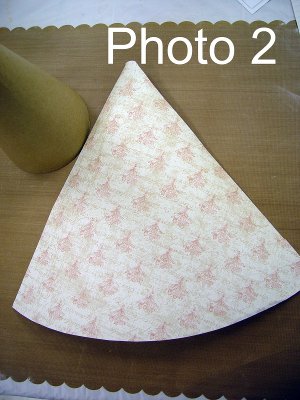
- Unroll paper from cone and cut on your pencil lines. After cutting, your paper should look like a rounded triangle.
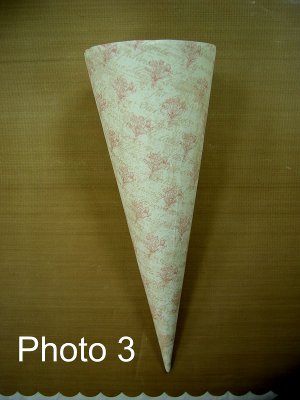
- Apply glue to back of paper and wrap paper around cone. Smooth out using your fingers. Using a craft knife, trim excess paper from top of cone.
- Paint inside and top edge of cone. I only painted about 2-3” into the cone as the cone will be filled.
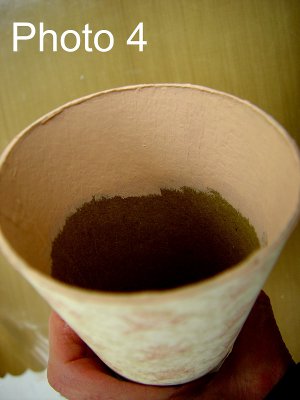
- Once paint is dry, drill hanging holes into cone.
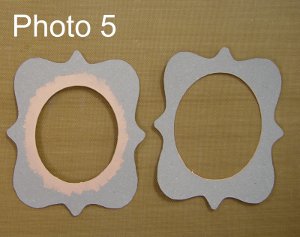
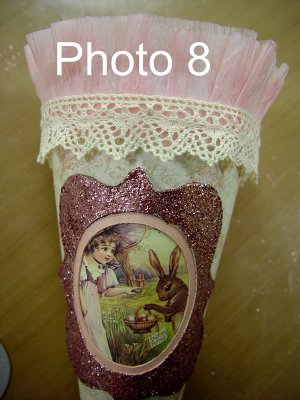
- Using the Cricut and the SCAL file, cut the frames out of Grungepaper. If you don’t have Cricut/SCAL, use a similar chipboard frame. Paint the bottom frame’s opening and edge as shown below. Bottom frame piece has the smaller circle opening.
- Glue the frames together and when dry, glue and glitter the top and sides of the frame.
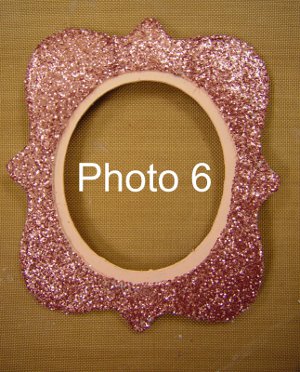
- Place the vintage image behind the frame and cut it to fit. Glue image to back of frame.
- Cut crepe paper into two 18” strips. Create a ruffle by pleating and hot gluing around the top of the cone. It helps to use a compass to mark an even pencil line around the edge of the cone so that the crepe paper will be glued on straight. Leave about a ½” of crepe paper showing above the rim of the cone.
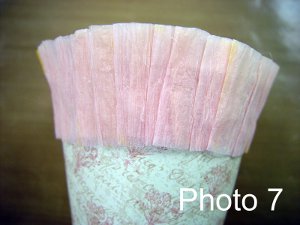
- Using the Distress Ink, gently brush over folds and top of ruffle. Press portion of ruffle above the cone back gently.
- Using hot glue, attach the lace to the bottom edge of the crepe paper ruffle.
- Gently bend the frame and using hot glue, attach to the cone.
- Using the craft knife, carefully cut through the crepe paper covering the drilled handle holes. Gently pull each end of the ribbon through those holes and knot.
- Slice off a small piece of the tip of the cone and insert the string end of the tassel. Hot glue to hold.
- Add jewel embellishments as desired.
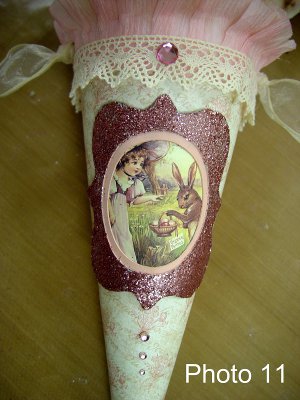
- Stuff cone with tissue paper and place florals in the top of the cone. Hot glue if necessary to hold in place. Hang and enjoy!