Ladies Night Invitation
Digital Scrapbooking programs can be used for more than just layouts. Why not spruce up your next ladies’ night outing with a customized invitation for your closest gal pals? Use Serif’s Digital Scrapbook Artist 2 card templates to create a fun invitation featuring you and your friends.
Materials:
- Digital Scrapbook Artist 2 (available for purchase from Serif) or Digital Scrapbook Artist Compact (available for free download from DaisyTrail)
- Digikit: Ladies Night by DaisyTrail
- Printer
- 6” x 4” cardstock with envelope
- Optional: Physical embellishments, such as ribbon, buttons and glitter to attach to your printed invitation
Instructions:
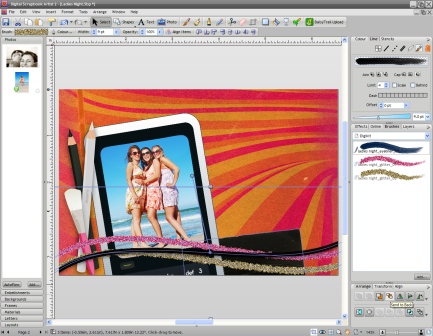
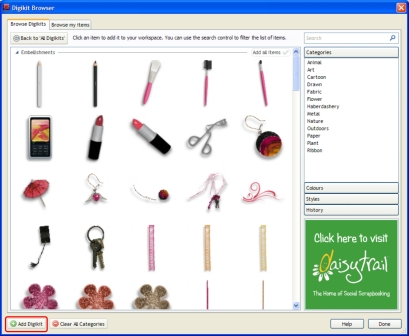
- Use the Digikit Browser to add the Ladies Night kit to your workspace (scroll down the kits until you see Ladies Night, click on it and choose ‘Add digikit’).
- Set up your page to 6” x 4”.
- Go to the ‘Backgrounds’ tab, select a background and drag and drop it onto your page. Repeat this with the embellishments, using the handles on the sides to resize the items and the handle on the top to rotate them. Position as desired.
- Note that you may need to zoom out if you are working on a card-sized page.
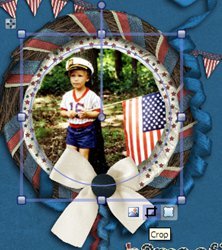
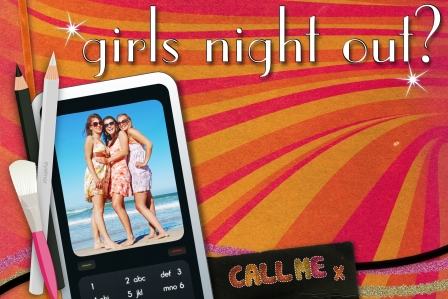
- Drag the mobile phone photo frame onto your page, resize, position, and then drag your photograph over the top. Adjust the photo’s position using the crop tool – you can zoom, rotate and drag your photo into position.
- Select the Brush tool
 and draw a curvy line along the bottom of the page. Click on the Brushes tab on the right, and click on the glitter brush from the Ladies Night kit to select it (in the ‘Digikit’ category). Now copy and paste your brush stroke twice. Rotate and position, and change to the other two brushes from Ladies Night. Use the arrange tool to move the brush strokes behind everything else.
- Go to the Letter tab on the left. Type ‘CALL ME X’ into the white box, and click ‘Insert’. You may find it easier to resize and rotate your text if you group it – just click the ‘Group’ button. Position your text onto your black tab and apply a dotted white line to your text. To do this, with your text selected, go to the Line tab in the top right and click on the dotted line. You can adjust the width of the line by dragging the ‘Line Width’ button.
- To finish, add two white stars from the Embellishments tab and apply shadows to the items on your page. You’ll find the Shadow tool on the toolbar – just select an item, choose the Shadow tool
 and drag away from your item to give it a shadow. Let go when you’re happy. If you are using Digital Scrapbook Artist Compact, you’ll find some shadow effects on the ‘Effects’ tab on the right.
- Print your card to finish and decorate with physical embellishments if you choose.
Read NextLadies Night Invitation