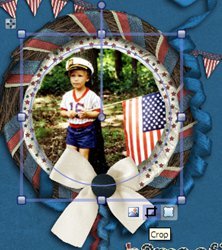
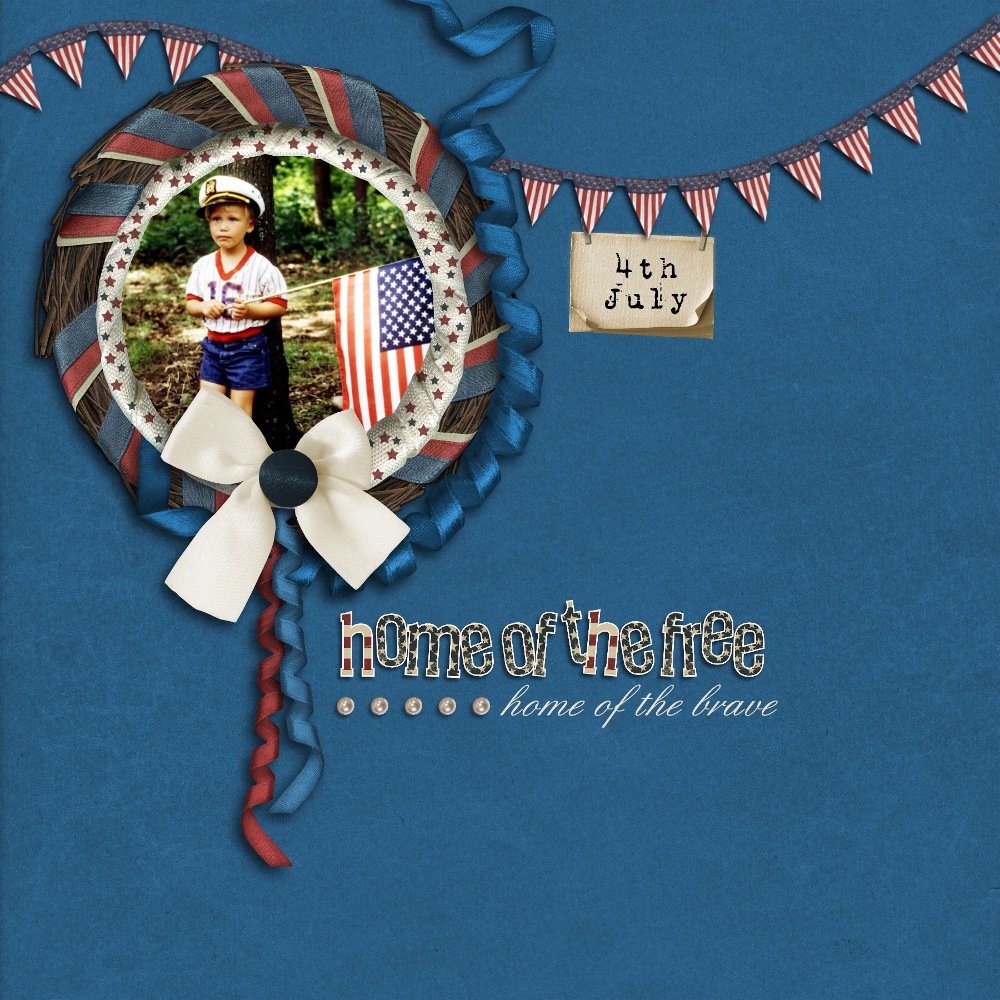
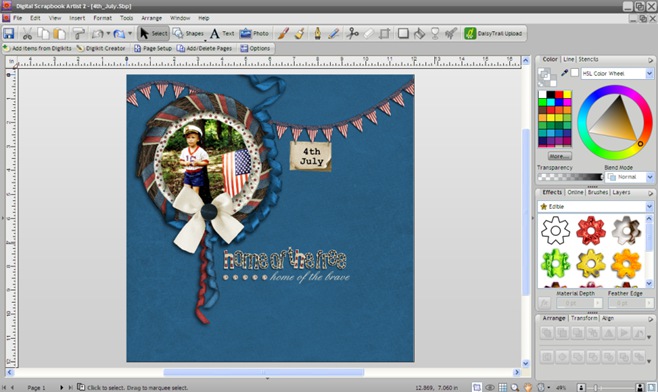
Home of the Free Scrapbook Layout
Create a 4th of July digital scrapbook layout with Digital Scrapbook Artist 2 from Serif and the new Star Spangled Banner digikit. Add a little sparkle to your Independence Day memories with this patriotic digital scrapbook layout.
Materials:
- Digital Scrapbook Artist 2 (available for purchase from Serif) or Digital Scrapbook Artist Compact (available for free download from DaisyTrail)
- Digikit: Star Spangled Banner (available to purchase from DaisyTrail, $4.99).
- Optional: Add physical embellishments, such as sequins, fabric and glitter to attach to your printed page and make a special hybrid creation
Instructions:
- Use the Digikit Browser to add the Star Spangled Banner kit to your workspace (scroll down the kits until you see Star Spangled Banner, click on it and choose ‘Add digikit’).
- Set your page up to 12” x 12” (or a smaller square size if you have a desktop printer and wish to print your finished design) using the Page Setup button, located on the toolbar.
- Go to the ‘Backgrounds’ tab, select the blue background and drag and drop it onto your page.
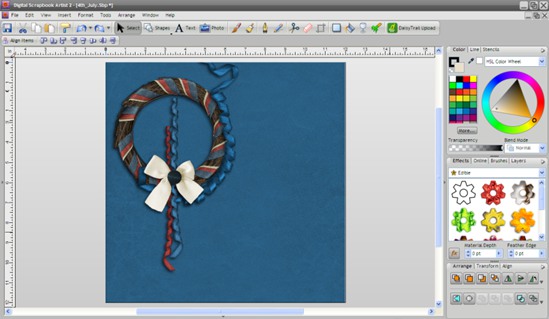
- Drag the embellishments from the ‘Embellishments’ tab onto the page and resize using the handles. Position as desired
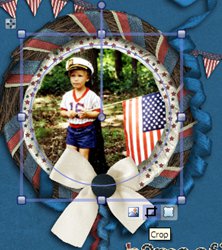
- Select the frame for your photo and drag it to the page. Next, add a photo from your library and drag and drop it onto the frame. The photo will snap to fit and you can adjust as necessary using the crop tool.
- Using the letters, type “home of the free,” click ‘insert,’ size and move onto the page.
- Clear the letters from the Letter palette and add letters from digikit “<need letters>”. ,” click ‘Insert.’
- Select the Text tool
 , click on your page once, and type “4th of July.” Choose the ‘Select’ tool to pick up your text box, then change the font as desired. With the text still selected, change the color using the swatches or color wheel on the right hand side. Once satisfied with the color, move the text onto the embellishment. Repeat this for “home of the brave.”
- Now add shadows to your design. You’ll find the Shadow tool
 on the toolbar – just select an item, choose the Shadow tool and drag away from your item to give it a shadow. Let go when you’re happy. If you are using Digital Scrapbook Artist Compact, you’ll find some one-click shadow effects on the ‘Effects’ tab on the right.
- Print your design to finish, and add physical embellishments if you’d like.
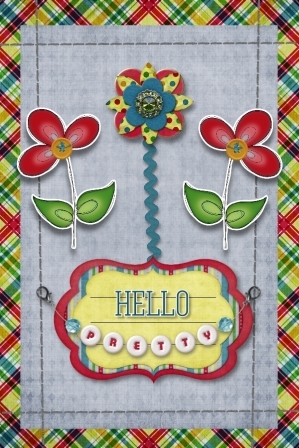
Read NextHello Pretty Card