Fabric Food Box
Keep your food items protected during travel with this padded and insulated Fabric Food Box. This is a perfect solution for transporting food to be served such as pies, pizzas, or any other flat food item from the kitchen to just about anywhere.

Materials:
- Silver car windscreen shade
- Outer fabric
- Fleece for batting
- 2 Plastic chopping boards
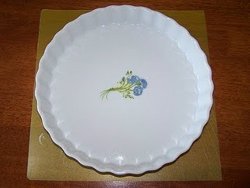
- Pie dish for size
Instructions:
- Cut the plastic chopping boards into 2 squares that the pie would fit on
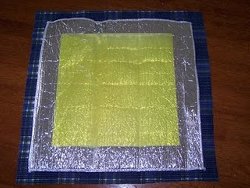
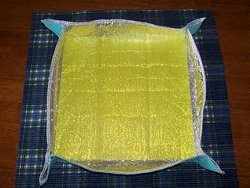
- Next cut 2 squares of silver car shade 5cm bigger on each side than the plastic board. Cut 2 pieces of fleece the same side as this and machine stitched one to the back of each silver square. Then cut 2 outer squares 2cm wider again than the silver shade. So now you have 3 squares for each box like this
- Now you make the silver inner box. Pinch up the corners around the plastic square, and pin
- Do this for all four corners so it's starting to look like a pizza box
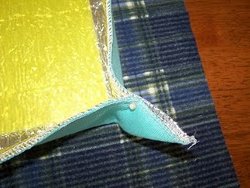
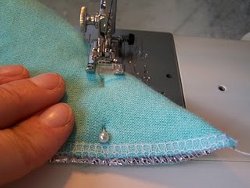
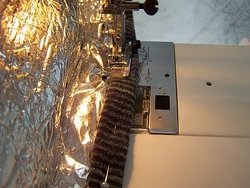
- Then stitch each corner where you have pinned it. I stitched over the line 3 times for strength, then cut off the pointy end
- Lay this box on top of the outer fabric (right side up), and pin the corners of the outer fabric into a box too. (keeping the plastic square inside helps you know where to pinch the corners and keep the shape even- but you need to take it out to stitch!!)
- Pin all four corners, and stitch as you did for the silver square
- Then stitch 3 times along the pinned corners and snip the pointy ends off, just as you did for the silver part. Turn right sides out. Now you have the inner and outer boxes ready to join together
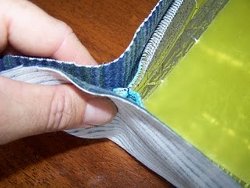
- Place the plastic square under the silver box, inside the outer fabric. Turn the top edge of the outer fabric double over the edge of the silver box and pin down
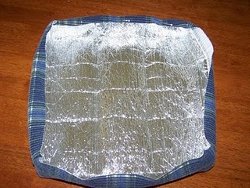
- Top stitch around the edges to join all the layers together
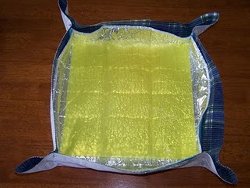
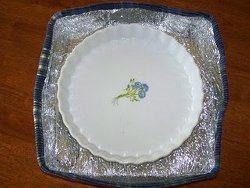
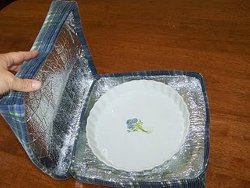
- You're done!! One box is completed, and you can place your pie dish inside it
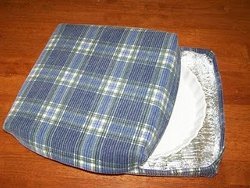
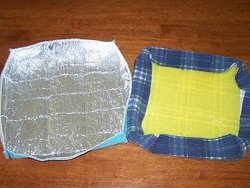
- Now repeat with your second set of squares. I found with my second box, that I cut strips off the remaining pieces of plastic chopping board and inserted them along each side of the box to give those sides strength. The box with strengthened edges then became the bottom box, and the floppier one worked well as the lid as it stretched over the edges well. You can see what I mean here the floppy one is on the left, the strengthened one on the right
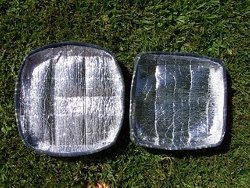
- Of course you could strengthen both boxes, and just make one very slightly larger than the other so they fit together.
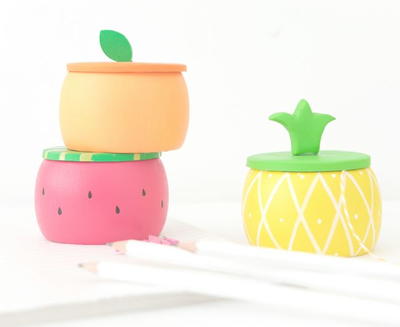
Read NextFruity DIY Wooden Trinket Boxes