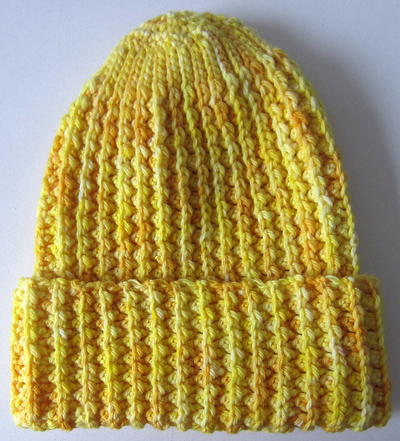
Scandinavian Hat
Crochet a colorful hat in a Scandinavian design to keep you warm through the winter. The hat crochet pattern is easy and uses simple embroidery to add the design. This is a wonderful and colorful hat that easily transitions from fall into winter. Great for men and women alike, this beautiful design looks professional and artistic, and is a great way to show off your crochet skills! The cute pom pom on top of this hat adds a cute touch that makes this hat fashionable and fun to wear.

Materials:
- 2 balls Red Heart® Soft Yarn® in Black (MC)
- 1 ball Red Heart® Soft Yarn® in White (A)
- 1 ball Red Heart® Soft Yarn® in Cherry Red (B)
- 5mm [US H-8] and 5.5mm [US I-9] crochet hooks
- Yarn needle
Gauge: 16 sts = 4”; 23 rows = 5” in sc with larger hook.
Special Abbreviation:
- dec (worked over 2 sts) = [draw up a loop in next st] twice, yo and draw through all 3 loops on hook.
Instructions:
Hat fits 21½ (22½, 23½)” circumference head.
-
With larger hook and MC, ch 88 (92, 96).
-
Row 1 (RS): Sc in 2nd ch from hook, sc in each ch across; turn – 87 (91, 95) sc.
- Row 2: Ch 1, sc in each sc across; turn. Repeat Row 2 until 20 (25, 30) rows have been completed from beginning.
Shape Top
-
Next Row: Ch 1, sc in first sc, [dec] 43 (45, 47) times; turn – 44 (46, 48) sc.
-
Next Row: Ch 1, sc in each sc across; turn.
-
Next Row: Ch 1, [dec] 22 (23, 24) times; turn – 22 (23, 24) sc.
-
Next Row: Ch 1, sc in each sc across; turn.
-
Next Row: Ch 1, sc in first 0 (1, 0) sc, [dec] 11 (11, 12) times; turn – 11 (12, 12) sc.
- Next Row: Ch 1, sc in each sc across. Fasten off, leaving a long length for sewing.
Border
-
Row 1: With right side facing and smaller hook, join B in first st on lower edge; ch 1, sc in each st across foundation ch edge of Hat; turn – 87 (91, 95) sc.
-
Row 2: Ch 1, sc in each sc across; turn. Fasten off B.
-
Row 3: Join MC in first sc; ch 1, sc in each sc across; turn.
- Rows 4-9: Ch 1, sc in each sc across; turn. Fasten off at end of last row.
Lining
-
With smaller hook and B, ch 88 (92, 96).
-
Row 1: Sc in 2nd ch from hook, sc in each ch across; turn– 87 (91, 95) sc.
- Rows 2-9: Ch 1 sc in each sc across; turn. Do NOT fasten off.
Join Lining
-
Hold Lining and Border together with wrong sides facing, aligning sts in Row 9. With right side of Border facing, smaller hook and B, sc in each sc across working through the double thickness of Row 9; turn.
- Next Row: Ch 1, sc in each sc across. Fasten off.
Embroidery
- Starting in center st and working outward, cross st Rows 3-9 of Border following Chart A. Starting in center st and working outward, cross st Rows 3-20 of Hat following Chart B.
Finishing
- Fold Lining to wrong side of Hat and sew foundation chain edge of Lining to corresponding row on inside of Hat Border with B. With yarn needle, weave sewing length at top of Hat through last row of sts; draw up firmly, fasten securely. Sew back seam of Hat. Sew edges of Lining separately on inside. With B, make a loose 6” pompom and attach securely to center top of Hat.


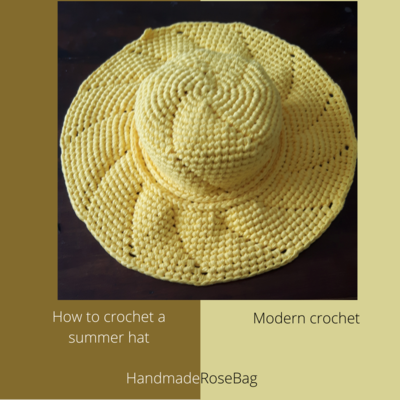
Read NextSummer Hat
Your Recently Viewed Projects


Thanks for your comment. Don't forget to share!
MrsJenCit
Feb 28, 2013
Im from denmark... There is NOTHING Scadinavian about that hat.... But Ill take a "Scandinavia inspired" ... ;-)
Report Inappropriate Comment
Are you sure you would like to report this comment? It will be flagged for our moderators to take action.
Thank you for taking the time to improve the content on our site.