This project was submitted by one of our readers, just like you.
Personlized Treasure Box

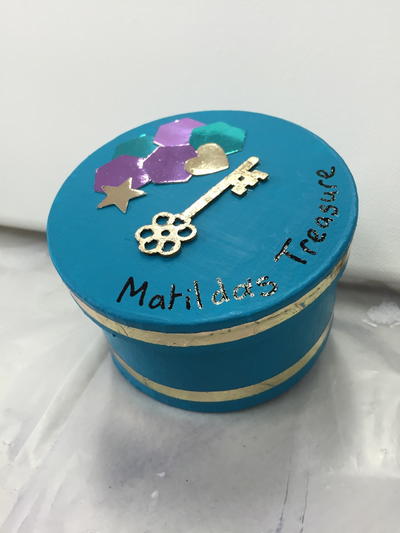
Personalized Treasure Box
In the Designer's Words: "You and your child will have lots of fun creating this personalized treasure box - simply paint a small papermache box and add embellishments decorated with the iCraft Foil. Kids will need the help of an adult when applying the foils to the toner punch outs using the laminator."
If you are looking to craft with your kids, this adorable little DIY trinket box is the perfect place to start. This secret little DIY storage idea is perfect for their favorite jewelry or tiny toys. Your child will love creating a practical little DIY craft with you that they can actually use. The Personalized Treasure Box is great for crafting with older kids, but with some extra help you could create it with younger children, as well.
Time to CompleteIn an evening
MaterialsMixed Media/Miscellaneous
Age GroupPre-Teens
Materials List
- Papermache box
- Plaid FolkArt Paint
- iCraft deco foil
- iCraft Toner Sheet
- iCraft Easy-Tear Tape
- Office laminator
- Glue Stick
- Black Marker
Instructions
-
Take a small papermache box and paint with your choice of FolkArt paint. Set aside to dry.
-
Use iCraft Easy-Tear Tape to run a strip around lid. Remove backing and apply strip of iCraft deco foil in gold. Rub firmly, then gently remove the foil backing sheet.
-
Repeat along the base of the box.
-
Using a variety of punches or dies, cut out a few different shapes from the iCraft Toner Sheet.
-
Cut a section of iCraft deco foil in purple to size, slightly larger that your shapes, and run through laminator on low heat setting, in the pouch provided.
-
Run a few more shapes through laminator with gold foil and repeat for your remaining punch outs with the green foil.
-
Take the key shaped chipboard piece and apply glue. Allow glue to get tacky, then apply gold foil.
-
To assemble your personalized treasure box, simply remove backing from self adhesive foiled shapes and adhere to lid of box. Apply a small amount of glue to the gold key and add to lid.
-
Use a marker to add your personalized touch.

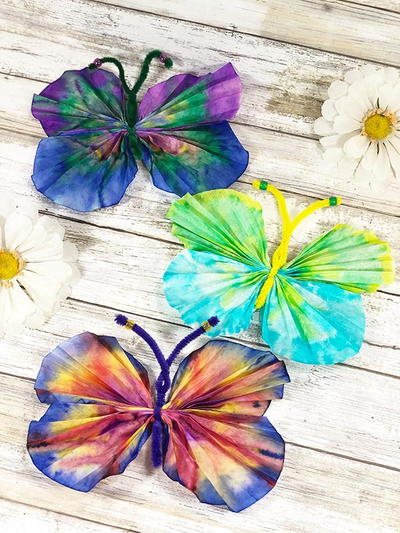
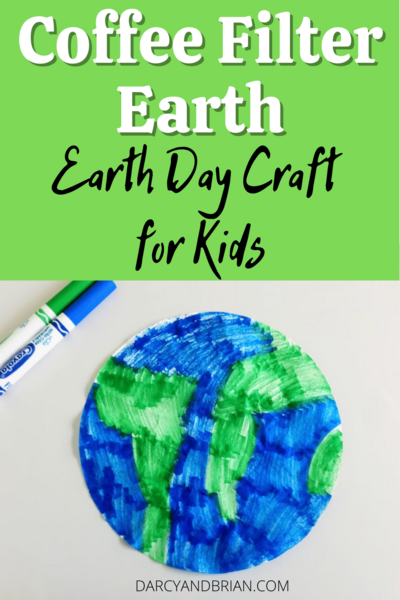
Read NextCoffee Filter Earth Craft