Snowflake Noel Banner

Snowflake Noel Banner
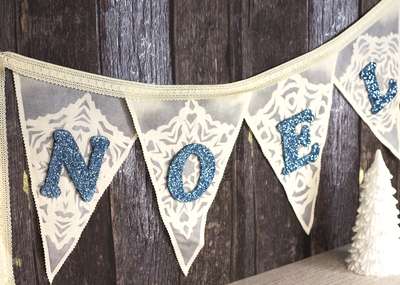
Welcome both the winter season and its holidays into your home with the Snowflake Noel Banner. This craft involves sewing with a machine, ironing, painting, and glitter, so it is most likely too complex for kids to do. You could have your kids help with cutting out snowflakes, as well as the painting and glitter parts, though. At the end of the project, you will have a beautiful, glittering banner for your mantel or doorway, and you can store this decoration away for next year, too.
Time to CompleteIn an evening
Primary TechniqueGeneral Crafts

HolidayChristmas
Materials:
- Americana Multi-Surface Acrylics
- Turquoise Waters
- Silver (Metallic)
- Water container
- Palette or plastic plate
- Paper towels
- Scissors
- Ruler
- Pencil
- 3/4" flat brush
- Lace
- Craft glue
- Hot glue gun and glue sticks
- Iron and ironing board
- Freezer paper
- Chunky glitter
- Wooden letters
- Muslin
- Pinking shears
- Sewing machine
Instructions:
- Use a pencil and ruler to trace a basic triangle shape onto to the muslin or fabric of choice.
- Use pinking shears to cut out each pennant. Make sure it is big enough for each wooden letter to it inside. If the fabric is thin, cut two layers. Use a sewing machine to double up the fabric, connecting two layers for each pennant.
- Use scissors to cut a snowflake of your choice out of freezer paper. (The "busier" the snowflake, the better!) Iron the snowflake to the pennant to use as a stencil. Use a 3/4" flat brush and Silver to paint all around the snowflake, brushing outward along the edges. Rinse brush. Remove the freezer paper and repeat steps on all four pennants.
- Use a 3/4" flat brush and Turquoise Waters to paint "NOEL" letters. Rinse brush.
- Once the letters are fully dry, use a 3/4" flat brush to brush craft glue on one letter at a time. Immediately sprinkle chunky glitter all over the letter. Repeat on all letters. Rinse brush.
- Once the pennants are dry, sew them together with lace or ribbon of your choice.
- Use a hot glue gun and glue sticks to attach letters to the pennants.
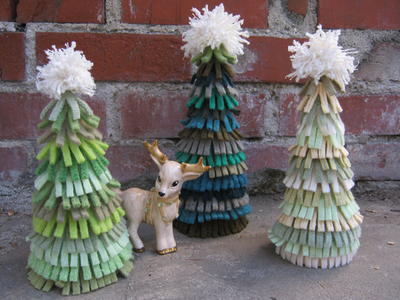
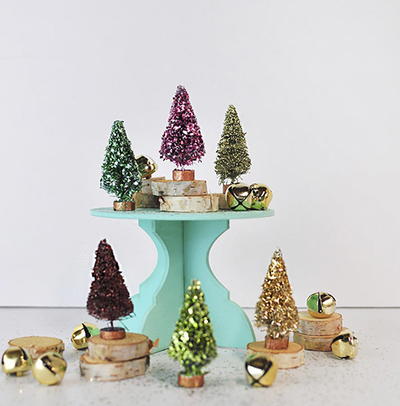
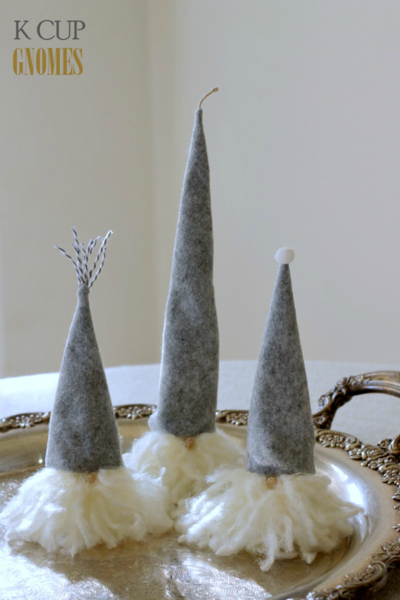
Read NextItty Bitty Glam Trees