Easy Christmas Tree for Limited Space
If you have ever made a “fan” out of paper to cool you down, then you know how easy this will be. If not, you will realize how easy it is to do. Made in almost any size and with most papers. The one pictured is 38 inches tall, but you can make smaller or bigger. All you need is somewhere to affix it on.

Materials:
- 1 Roll of white paper like the ones used in kinder gardens for children to draw on. Butcher brown paper, wrapping paper or even a roll or even wallpaper, there are a lot of possibilities on what paper one can use. For the one in the picture, my roll is 18 inches in height and it is white.
- Thumb tacks
- Ruler
- Pencil
- Scissors
- Needle and strong thread, yarn or chord
- Glue (to hold your decorations); one that dries quickly so that you don’t have to stand there holding for a lengthy period of time.
- Lightweight decorations, like ribbon, Christmas balls, whatever as long as they are not heavy
- Led lights (ones that require batteries) don’t need an electrical outlet. Try to find some that the wire is the closest color to the tree you are doing. The ones here are white cord with 30 little lights. Very lightweight.
Instructions:
- The tree is made in three parts. Cut 3 rectangles of paper as follows. First part (bottom of tree) is 18 inches (the height of the roll) by 54 inches so, cut at 54”. With that part make a fold of 3 inches at one bottom, this on the 18” side, NOT the 54”; and continue making 3” folds (pleats) like making a zigzag or fan (see picture).
Second part (middle of tree) is 18” x 36”; folded also at 3”.
Third par is the top of tree which is 18” x 24”; folded at 3”.
- At one end of each fan, pleat or zigzag, take needle with thread (yarn) and insert needle at 1/2” from top and 1/2” from side of folded strip, when it comes through, move the needle of that side, same distances and come through to the other side. This to hold the fans, pleats or zigzags together to make them resemble fans. Don’t tie too tight and do leave yourself about 5 inches length yarn on each side to tie and, don’t make a knot at this time; just make a bow in case that you want to widen the top as you are affixing to the wall.
- Put the bottom part on the wall or surface using thumb tacks. Do the same with the middle part but, overlapping the top of the bottom part by about 12 inches, or 15” if you don’t want it as tall, and the last part, top of tree) the same overlapping the previous part. Look at it from a distance and you will be able to judge what looks best.
- Next, Set the little battery box at the bottom of the tree on a stand of some sort, then run the cord to one side of the tree and affix with thumb tack between space on the wire, keep zigzagging the light from one side of the tree to the other, doing the same thing with the thumbtacks.
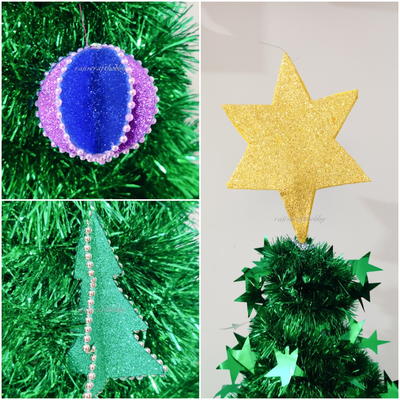
- Then decorate, using bows made in ribbons, pieces of round paper with glued glitter and then glued to the tree etc. H All you need is somewhere to affix it on. Have fun !
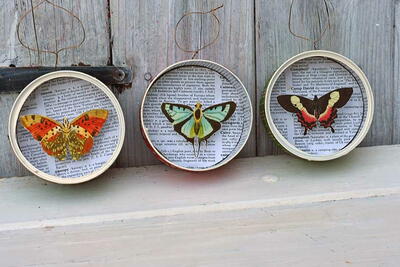
Read NextUpcycled Tuna Can Butterfly Ornament
Your Recently Viewed Projects

Thanks for your comment. Don't forget to share!
Catsitt
Sep 12, 2018
My niece is always going on about wanting a Christmas tree in her room but there would not be enough space for one, this would be a great alternative to make a three year old very happy. I cant wait to design and make it for her as a pre Christmas surprise!
Report Inappropriate Comment
Are you sure you would like to report this comment? It will be flagged for our moderators to take action.
Thank you for taking the time to improve the content on our site.