Christmas Joy Triptych
Decorate your home or give a special holiday gift with this JOY Quilt triptych. Use simple iron-on fusible web to applique the shapes in this Christmas triptych.

Materials:
- One blue print fat quarter (Background & Backing)
- 4" x 10" white print (Snowmen & Snow Trim)
- 4" x 10" black print (Snowmen Mittens & Hats)
- 7" x 10" green print (JOY)
- 1/4 yd. crazy quilt print ( Binding & Scarves)
- 2" x 3" orange print (Noses)
- 1/2 yd. iron-on fusible web*
- Black embroidery floss
- Embroidery needle
- 12" x 18" thin cotton batting
- Optional: sewing machine
- Iron, pencil, pins, ruler, scissors
- Pattern
*The Warm Company Lite Steam-A-Seam2 Iron on Fusible Web was used for this project.
Finished Size: 3 1/2" x 8 1/2" Itty Bitty Quilts
Notes:
- Use 1/4" seam allowance.
- Press all seams to the dark fabric when possible.
- Print out full sized patterns. Click to view pattern PDF
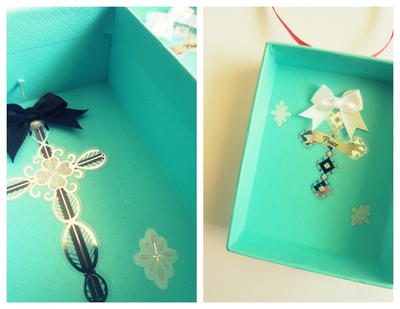
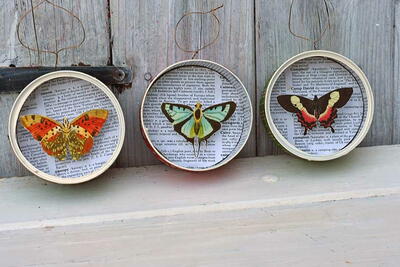
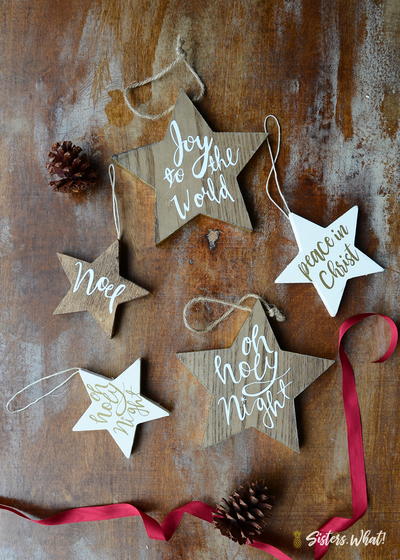
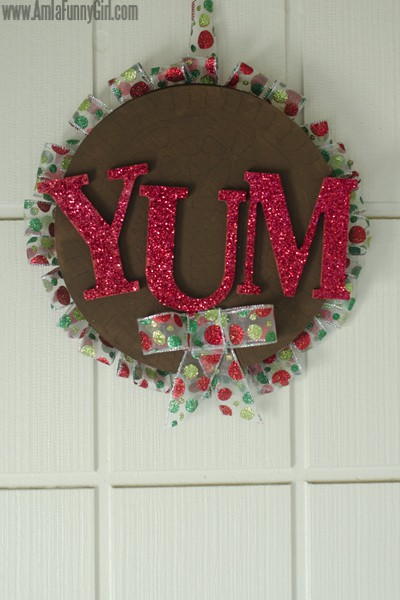
- Refer to photo for design and placement.
Steps:
- Cut appliqués. Cut all appliqués as stated on the pattern pieces. All appliqués are drawn in reverse. Trace each shape onto sticky side of iron on fusible paper. Cut out each shape allowing 1/4" between each. Peel off paper and press drawn-on shape onto wrong side of fabric specified on patterns. Cut out each appliqué along drawn line. Use a pencil to draw Snowmen eyes and mouths in place using a pencil. Set aside.
- Assemble quilts. Note: Build each appliqué from the bottom up. Overlap each as needed to achieve desired layout. Make sure appliqués are placed inside 1/4" seam allowance around outer edge of each Itty Bitty Quilt.
For background, fold blue print fabric in half, wrong sides together, to measure 11" x 18". Use pencil to draw three 3 1/2" x 8 1/2" rectangles on top fabric. Arrange and press appliqués in place. Stitch around each appliqué by hand or machine.
- Make faces. To make eyes on snowmen, thread a needle with one strand of black floss and French Knot. Use one strand of black floss to Straight Stitch the cross-stitched mouths.
- Quilt. Slip batting between front and back of folded background. Quilt as you like. Cut quilts apart along drawn lines.
- Finish. From crazy quilt print, cut two strips 2 1/4" x width of fabric. Sew binding strips together end to end. Fold wrong sides together and press. Bind to finish.

For more craft ideas, tips & projects from the Creative Home Arts Club, be sure to visit http://creativehomeartsclub.com