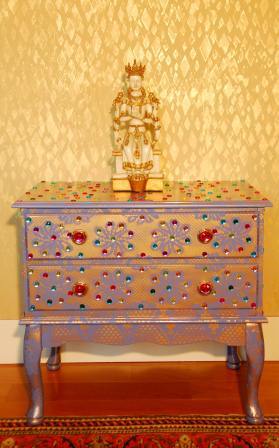
Posey Flower Box
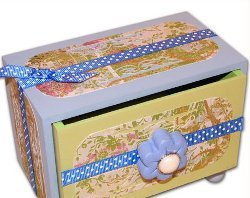
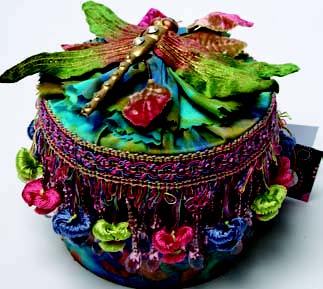
This is an easy DIY craft that you'll love to make. Use this Posey flower box from Beacon Adhesives to keep all your favorite possessions in. It can hold your jewelry or even your favorite cards you've collected over the years.

Materials:
- ZIP-DRY PAPER GLUE
- 3-IN-1 ADVANCED CRAFT GLUE
- Small wood box with drawer, or similar box.
- ½ “ wide grosgrain blue polka dot ribbon, or matching solid
- Paperclay or any air dry clay
- Pearl button approx. ¾” wide
- Blue and green acrylic paints
- Flowered cardstock or heavy paper, 2” X 4” for top and front and 2” X 3” for sides
- Paper punch corner edger to round off paper edges and, if desired, a fancy cut out paper punch.
- Ruler, 1” flower clay cutter or small cookie cutter, scissors, plastic place mat, toothpick.
Instructions:
- Remove drawer from box and paint both inside and outside with the green acrylic paint. Let dry. Paint the rest of the box with the blue acrylic paint and let dry.
- Use the corner edger to cut out all the corners of the flowered paper. Use the other decorative cutter to cut out the top and bottom edge of the paper. Glue papers onto box and drawer using ZIP DRY PAPER GLUE.
- Cut a length of the blue polka dot grosgrain ribbon and fit across the front of the drawer and over the edges. Glue ribbon as in photo with 3-IN-1 ADVANCED CRAFT GLUE. Glue more ribbon over the top and onto the sides. Make a small bow and glue to the left edge of the box top.
- Roll out the paper clay onto the plastic place mate to about 1 ½” thickness. Mark lines as petals using a toothpick. Press the button into the center of the clay flower and then remove. Let the flower dry overnight and then paint with the blue acrylic paint. After the paint dries, glue on the button with 3-IN-1 ADVANCED CRAFT GLUE. Glue flower to the center of the ribbon on the box front with the same glue. Allow to dry for several hours before using.
- If preferred, purchase a large plastic flower button instead of making one from paper clay and glue in place with 3-IN-1 as above.
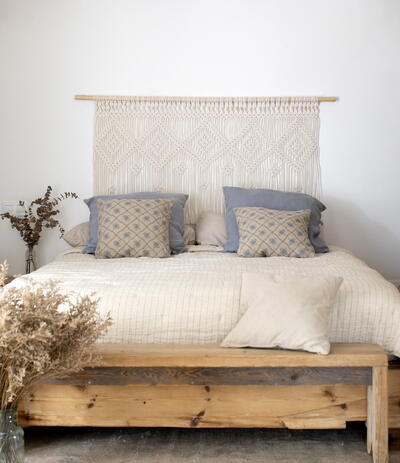
Read NextImperial Headboard