Cubby Coat Hangers
The hangers are not only easy to make, but they are useful too. This is a great craft for kids to hang their coats in their cubbies. All you need is some craft foam and some paints.

Materials:
- Foam Paint
- FP02 - Yellow
- FP06 - Green
- FP09 - Black
- 6 x 9 sheet of self-stick craft foam in coordinating color
- Children's plastic hanger in desired color
- Craft foam sheet in coordinating color
- Scissors
- Ruler
- Foam shapes or stickers
- Lo-temp glue gun
Steps:
- Lay hanger flat with straight bottom across middle of foam sheet length. Fold foam in half with bottom of hanger at fold. Trace approximately 1/2" above shape of hanger, drawing straight across from one side to other at hook base. Hold securely and cut through both layers of foam along lines.
- Use lo-temp glue to glue edges of foam pad together along top edges of hanger at both sides of hook base.
- Cut two 2-1/2" x 9" strips from self-stick craft foam with scalloped or jagged pattern along long edges of each piece. Remove backing of one strip and fold in half lengthwise over each side of hanger. (Edge should be against hook base and other edge extended off end of hanger.)
- Adhere well over foam pad and trim ends that extend off pad edges.
- Decorate as desired with foam shapes, placing shapes over hook base to conceal ends of foam strips. (Adhere shapes that are not stickers with glue.)
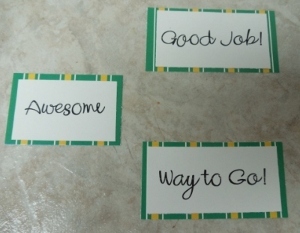
- Use Foam Paint to embellish designs and personalize hanger; allow to dry.
Read NextColorful Fabric Book Cover